So a couple days ago I was searching around for a good PDF Sky Atlas. I had a bunch of PDF’s that I had found individually, but I was looking for a full version with all the pages in 1 PDF file. I nearly gave up then I can across www.deepskywatch.com. A fella named Michael Vlasov had used the “Sky Map Pro 10” software package to generate the data. I did my reading and it seemed legit and free so I downloaded it.
Originally I had planed to just throw it into a 3-ring binder and be done with it. However, after seeing the size of the printed version (11×17 ledger), and reasoning a bit that maybe it would be best to find another way, I started making a few phone calls. Turns out, nobody I talked to in OKC (read: Office supply stores, packing / shipping stores, etc…) could actually bind something that large. I started researching the web to see what my options were, and happened into a few nice tutorials on how to bind a book, in the normal proper, hardback way. Basically using the techniques we’ve been using for 2-300 years now.
I ran home, cut out a couple pieces of cardboard, cut up a curtain that we no longer were using, and unwound 1 strand from a 3 strand kite cord I had laying around. I then bolted to the shop and got started.
At first I was going to bind the pages together only using hot-glue. Which would have done fine with low duty reading, and care. but this is a field atlas, that will get copious use and abuse. So I changed my mind and went with good ole fashioned tite-bond wood glue. Further into the process I realized that even if the glue held, I would still need something more concrete to keep the pages together in the even that the glue cracked or failed. So I dilled holes every inch and sewed it in an outside looping stich fashion. I then glued the spine, let it dry for an hour, then reglued again with a strip of fabric covering the spine. I pressed it altogether over night and let it dry. The cover was a bit more… boring. cut the curtain out, get the folds correct, glue copiously, stretch, weight, and let dry… finally I glued the spine fabric to the inside of the cover, weighted it all down, and let it dry.
Below is an outline and some pictures. I finished the above at 10am this morning, I’ll check it later tonight or tomorrow morning to see if the final product is workable.
- Idea. Brainstorm. commute safely home…
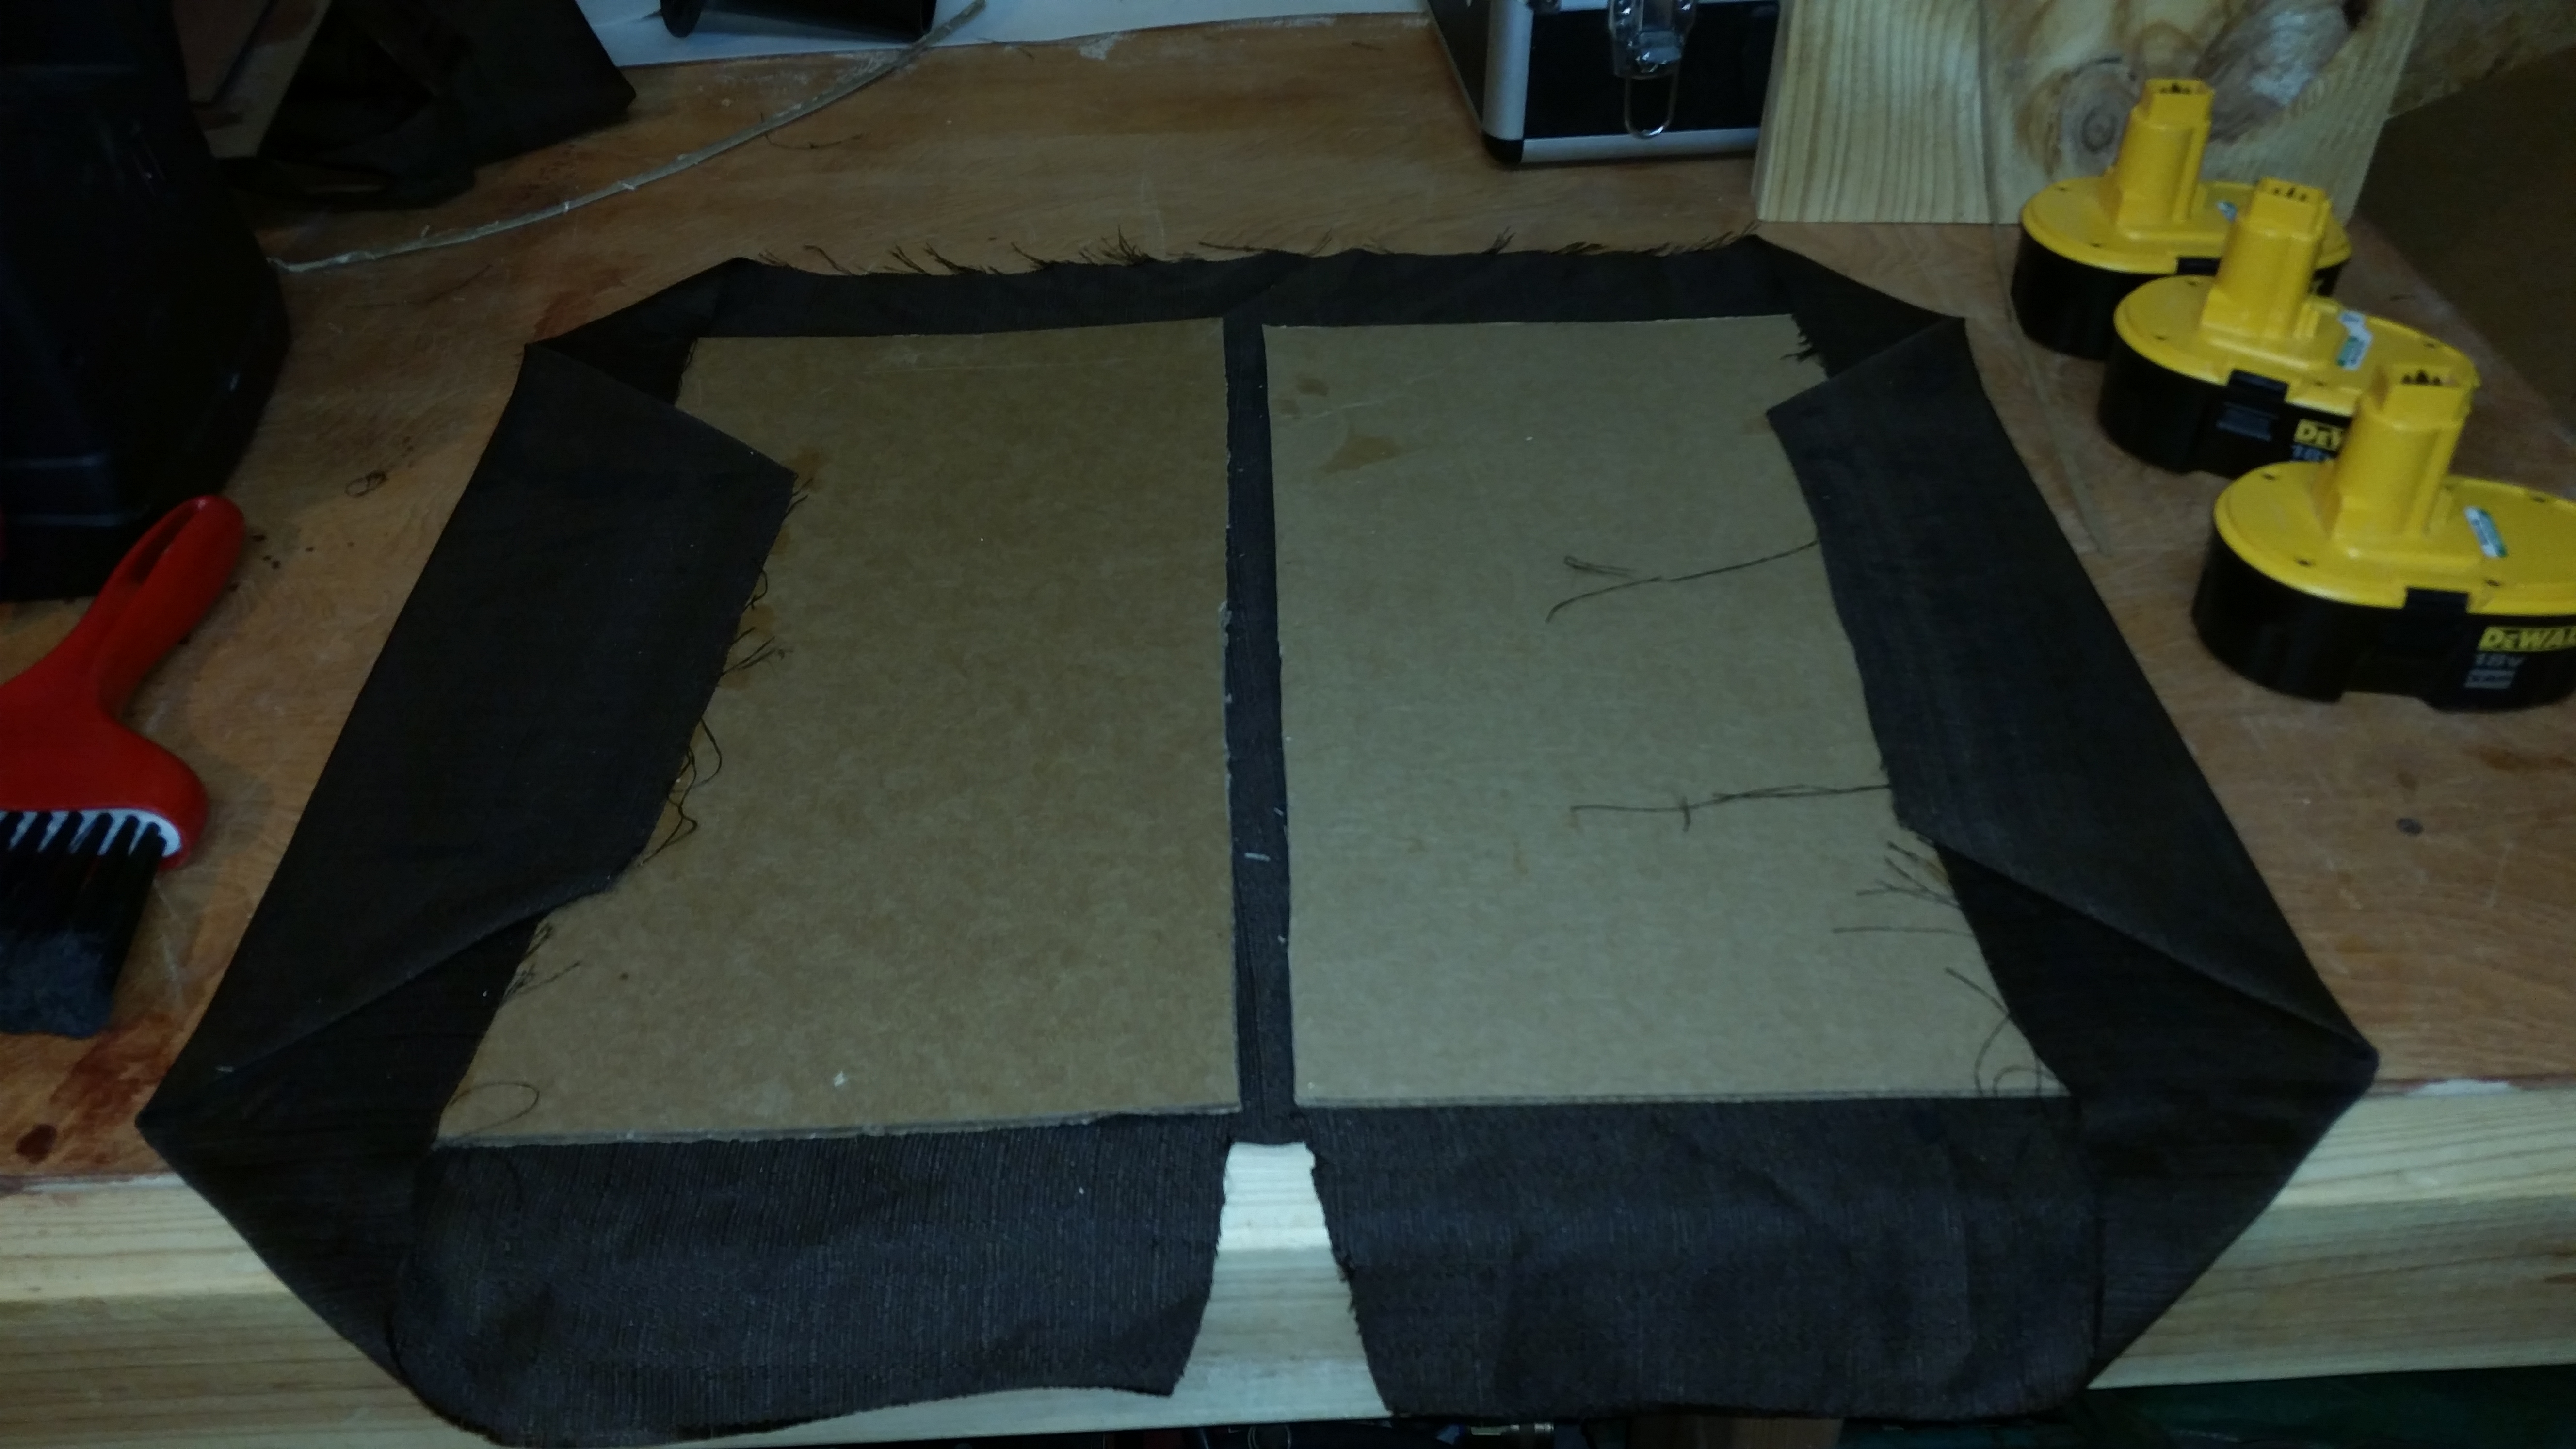
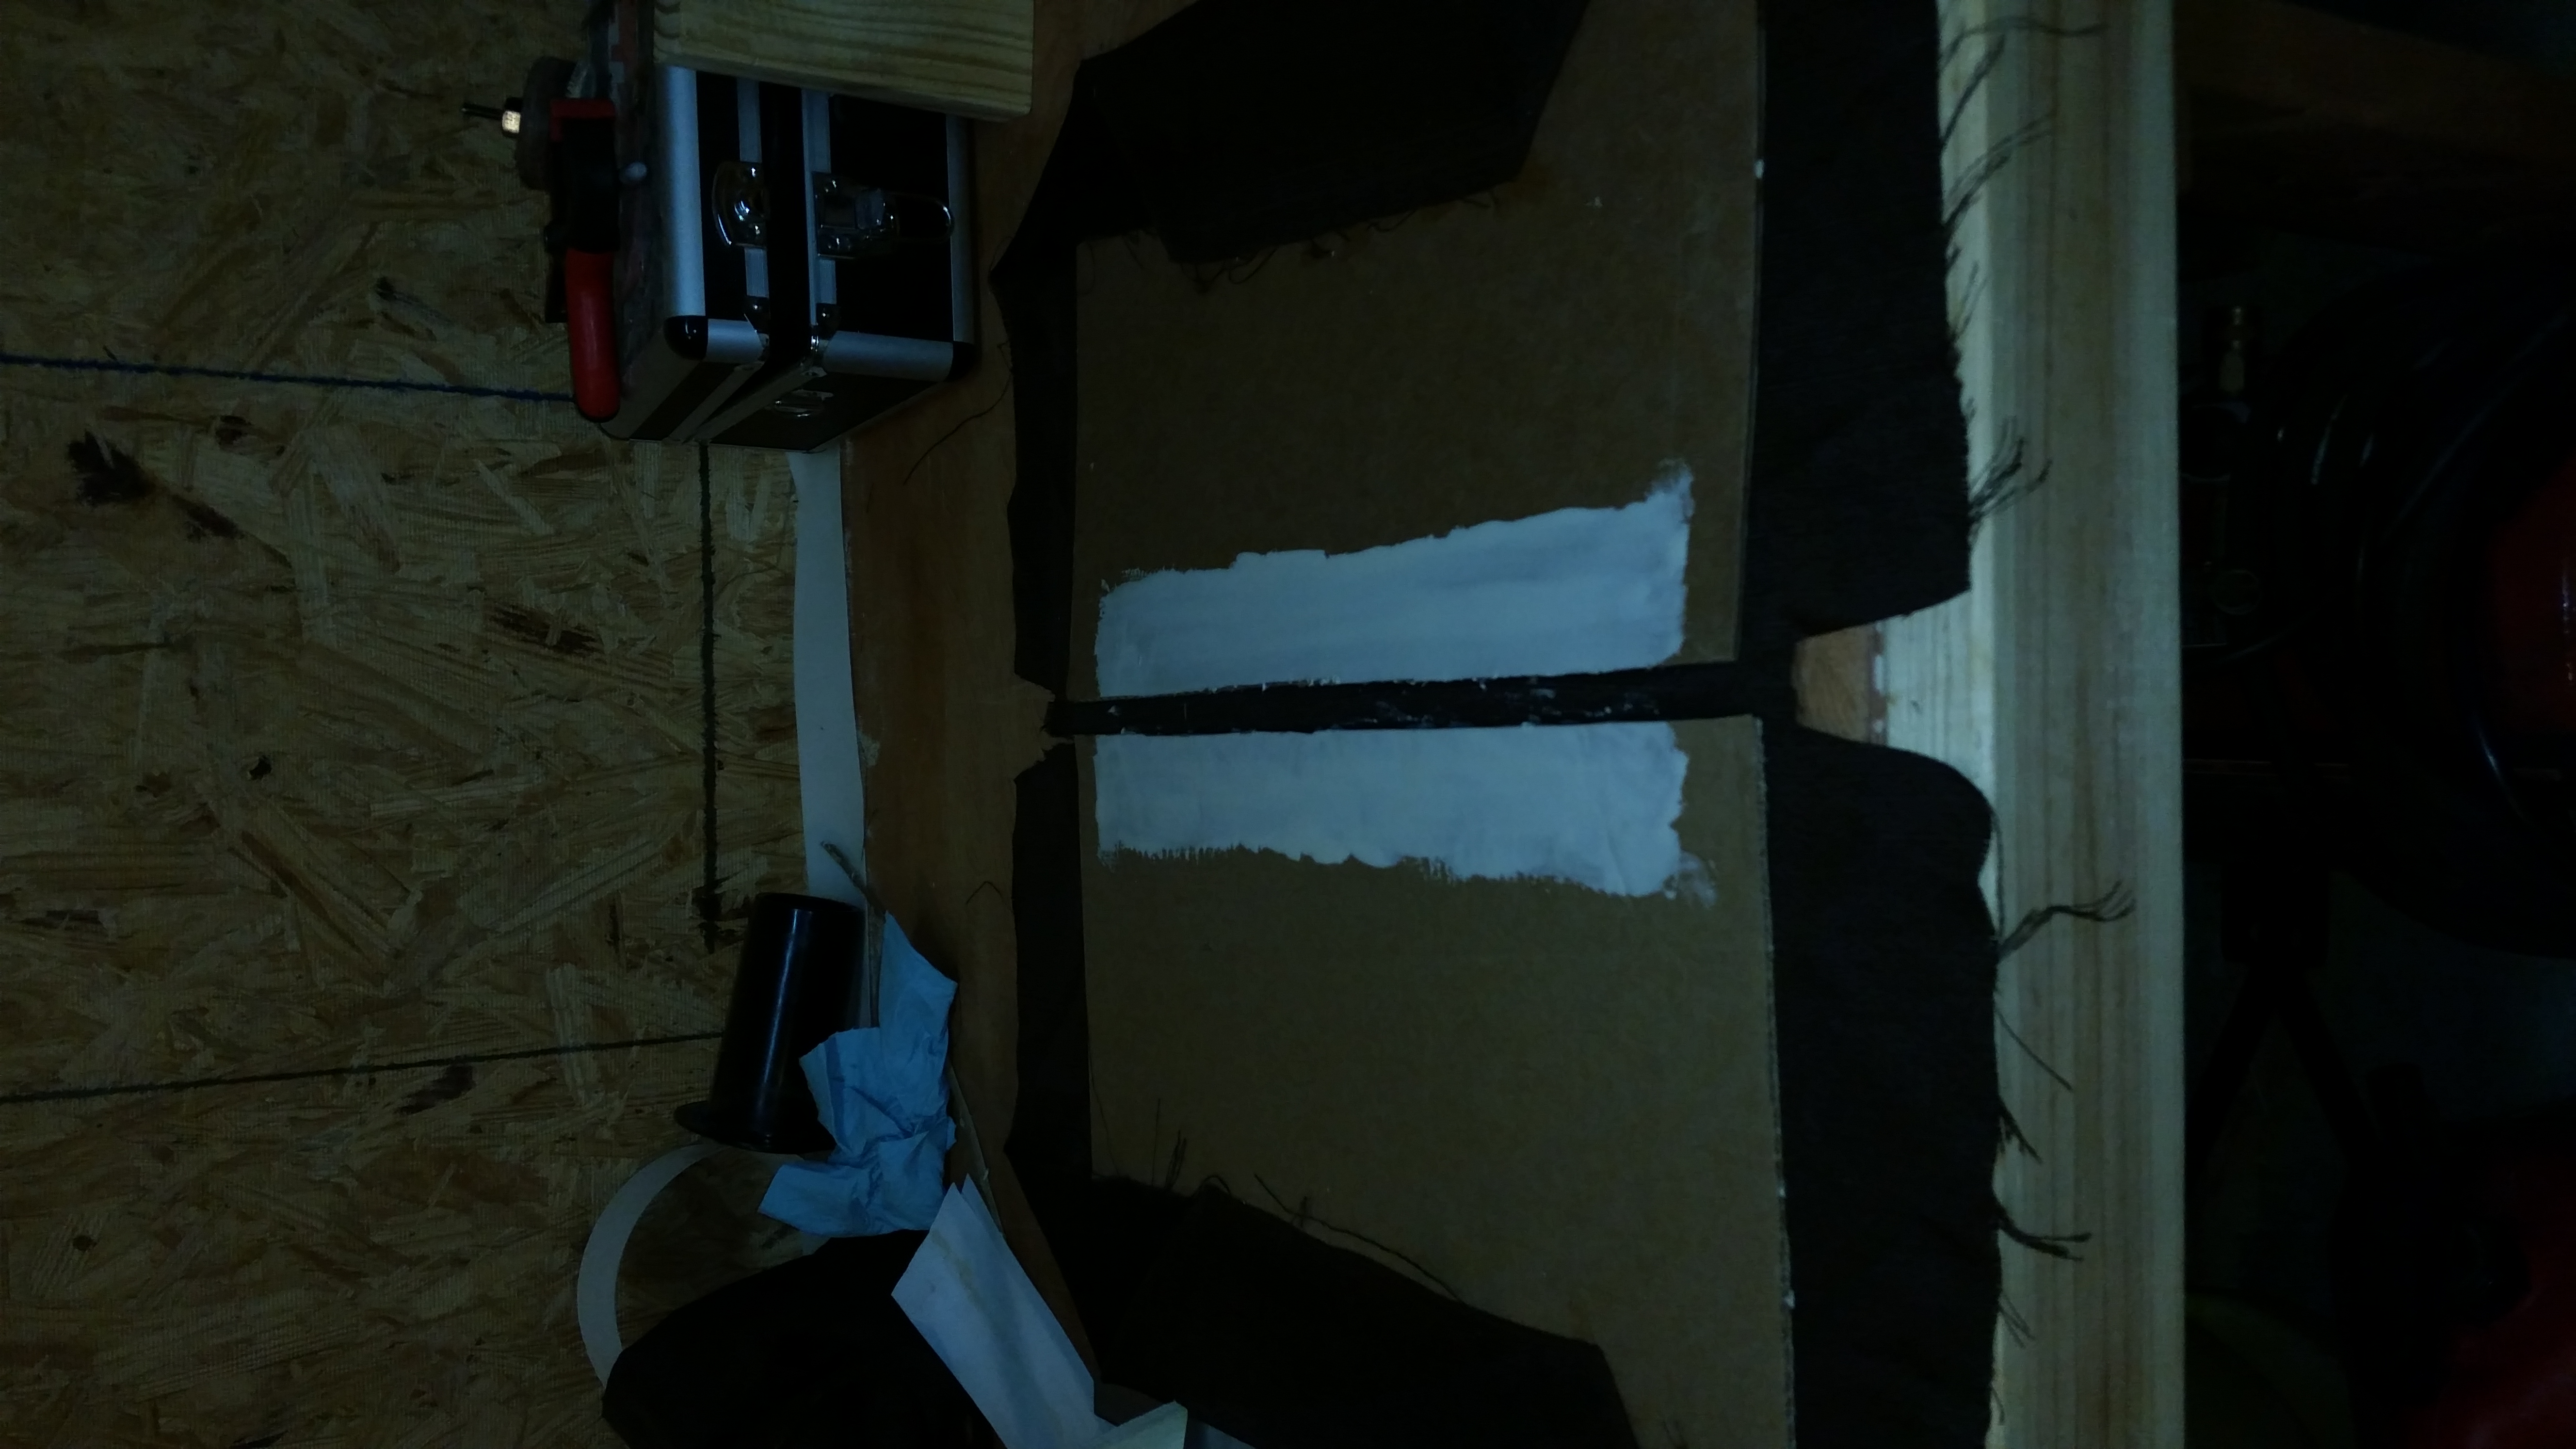
- gathering supplies, cut out 2x 18.5×12.5 carboard sheets. cut out the approximate size of fabric needed to cover the works. Procured string enough to stich it together.
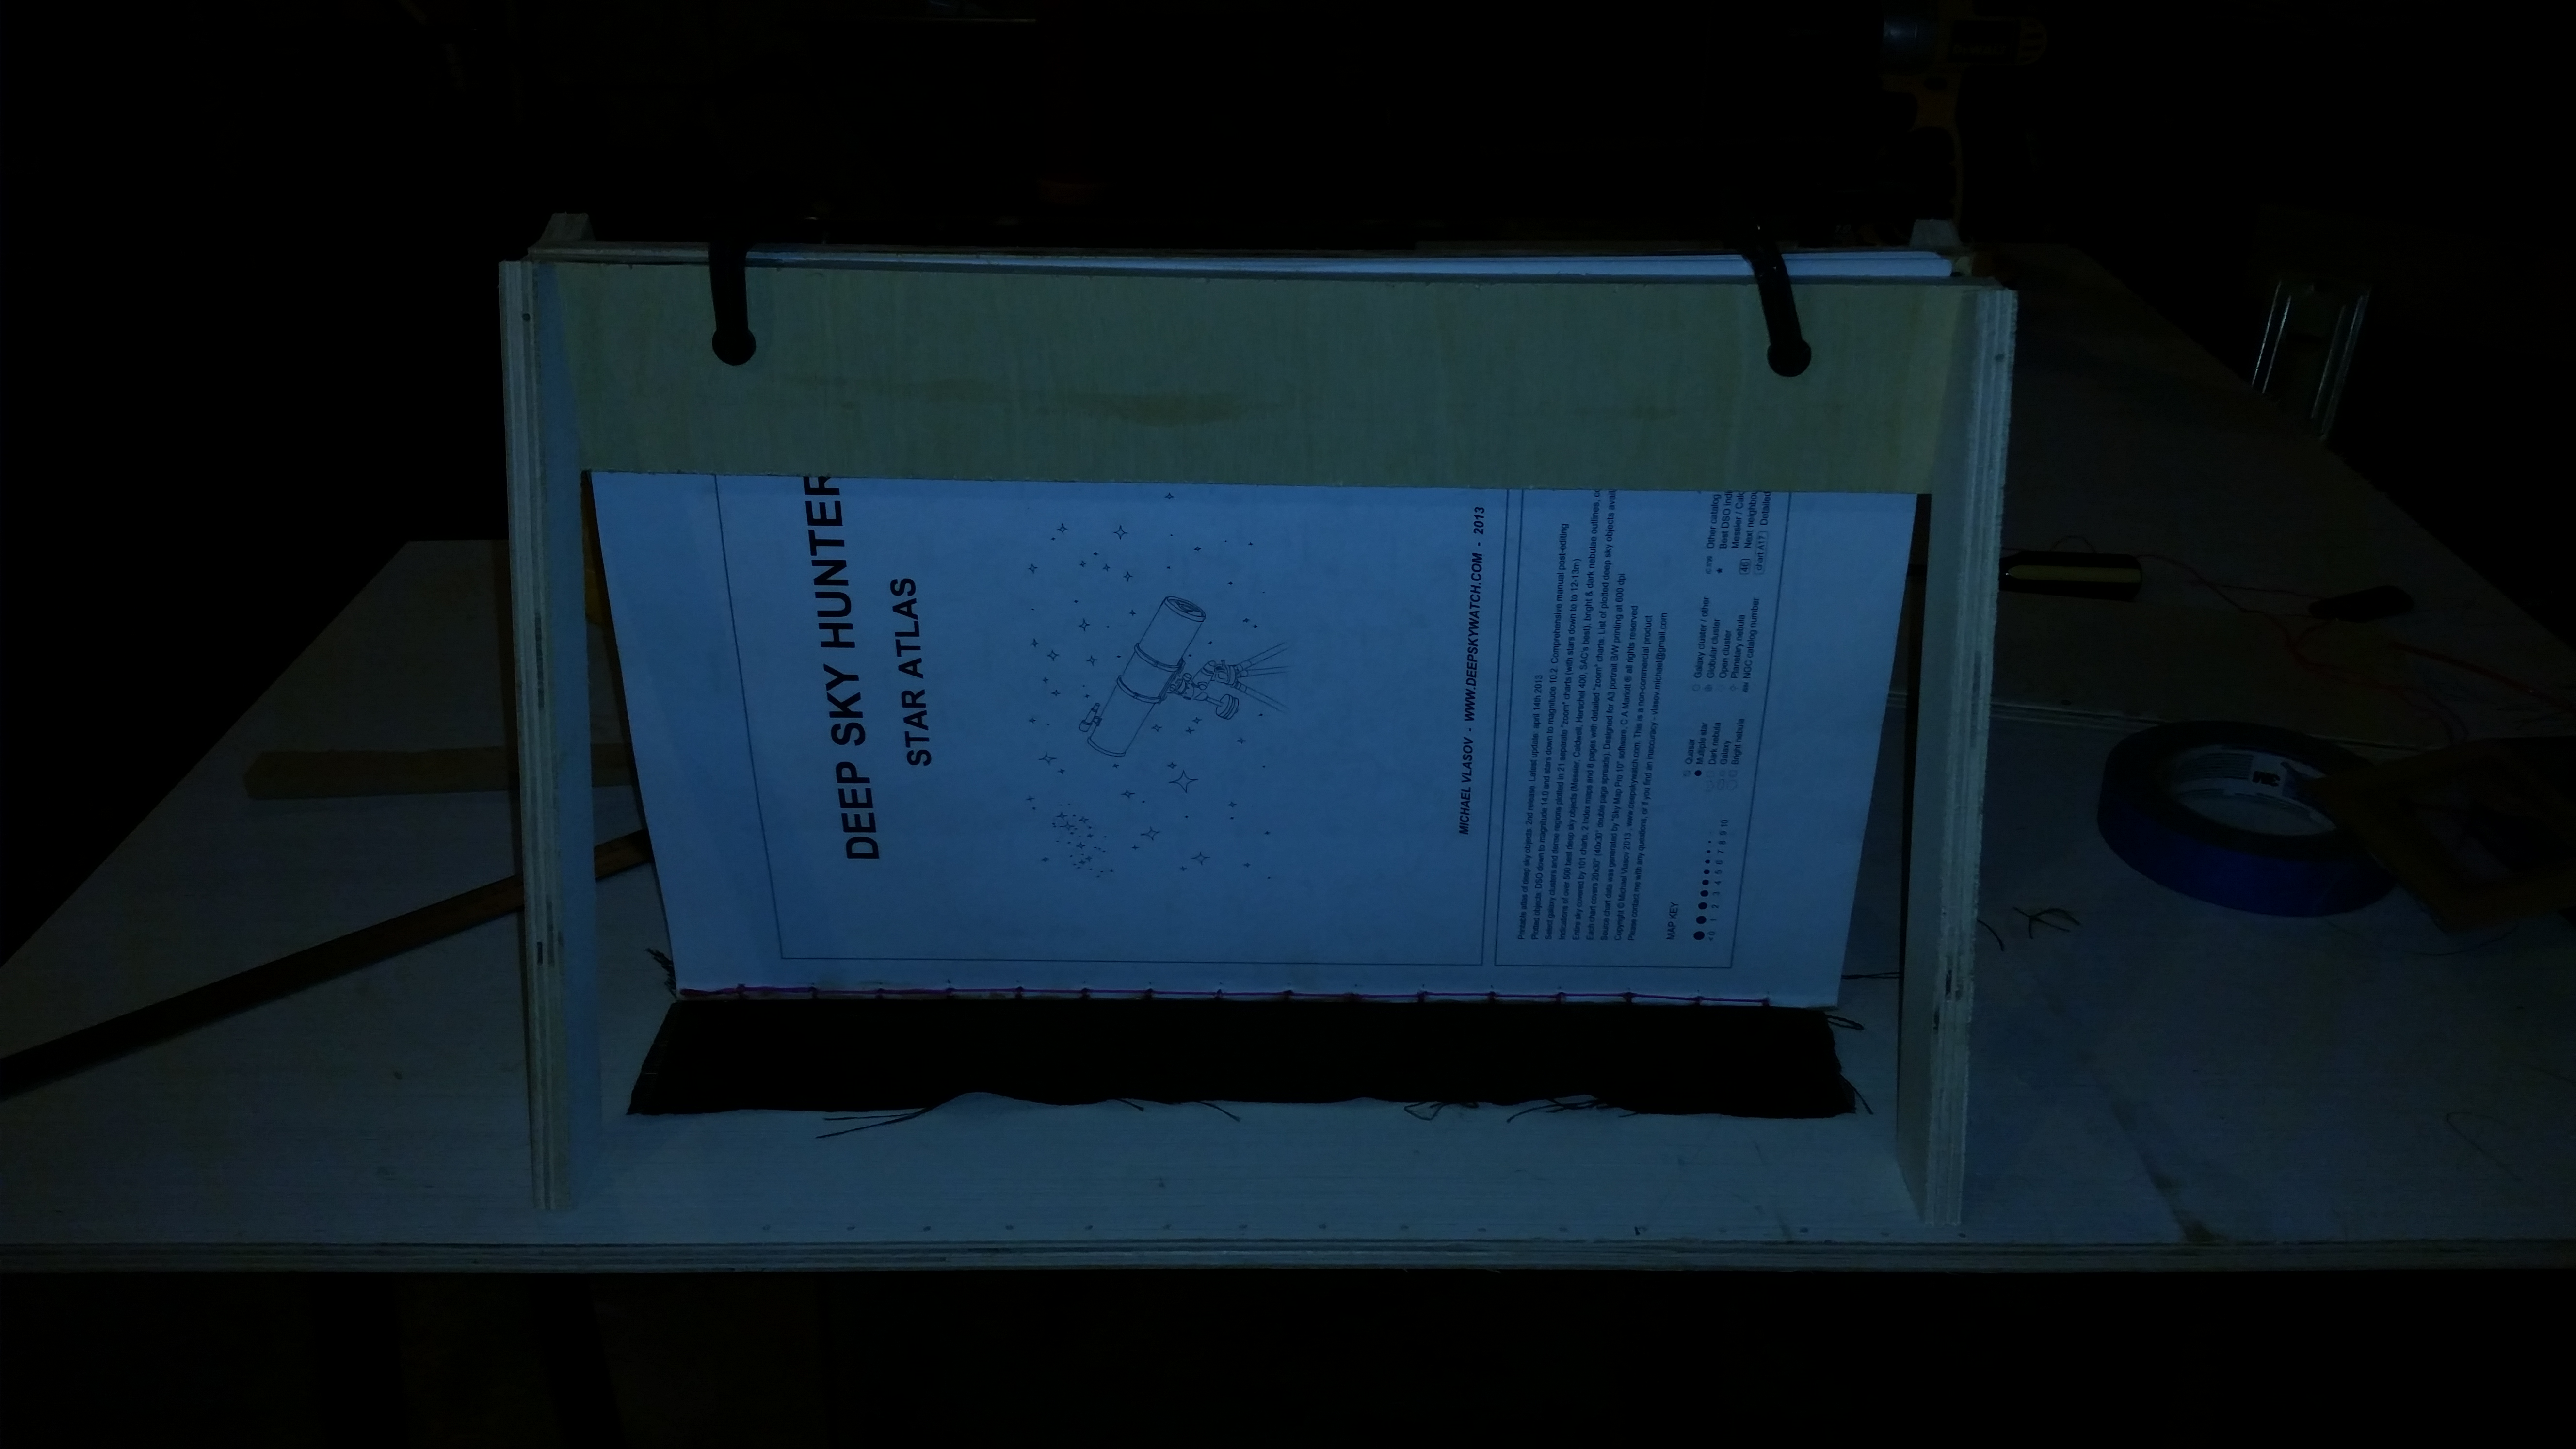
- Pressed the pages together with some plywood, giving a neat/clean spine. applied first layer of wood glue.
- placed the fabric on the workbench along with the two cardboard sheets. folded the excess material into what will be the inside cover, and glued them tight. (leaving enough room in the middle for the book spine.
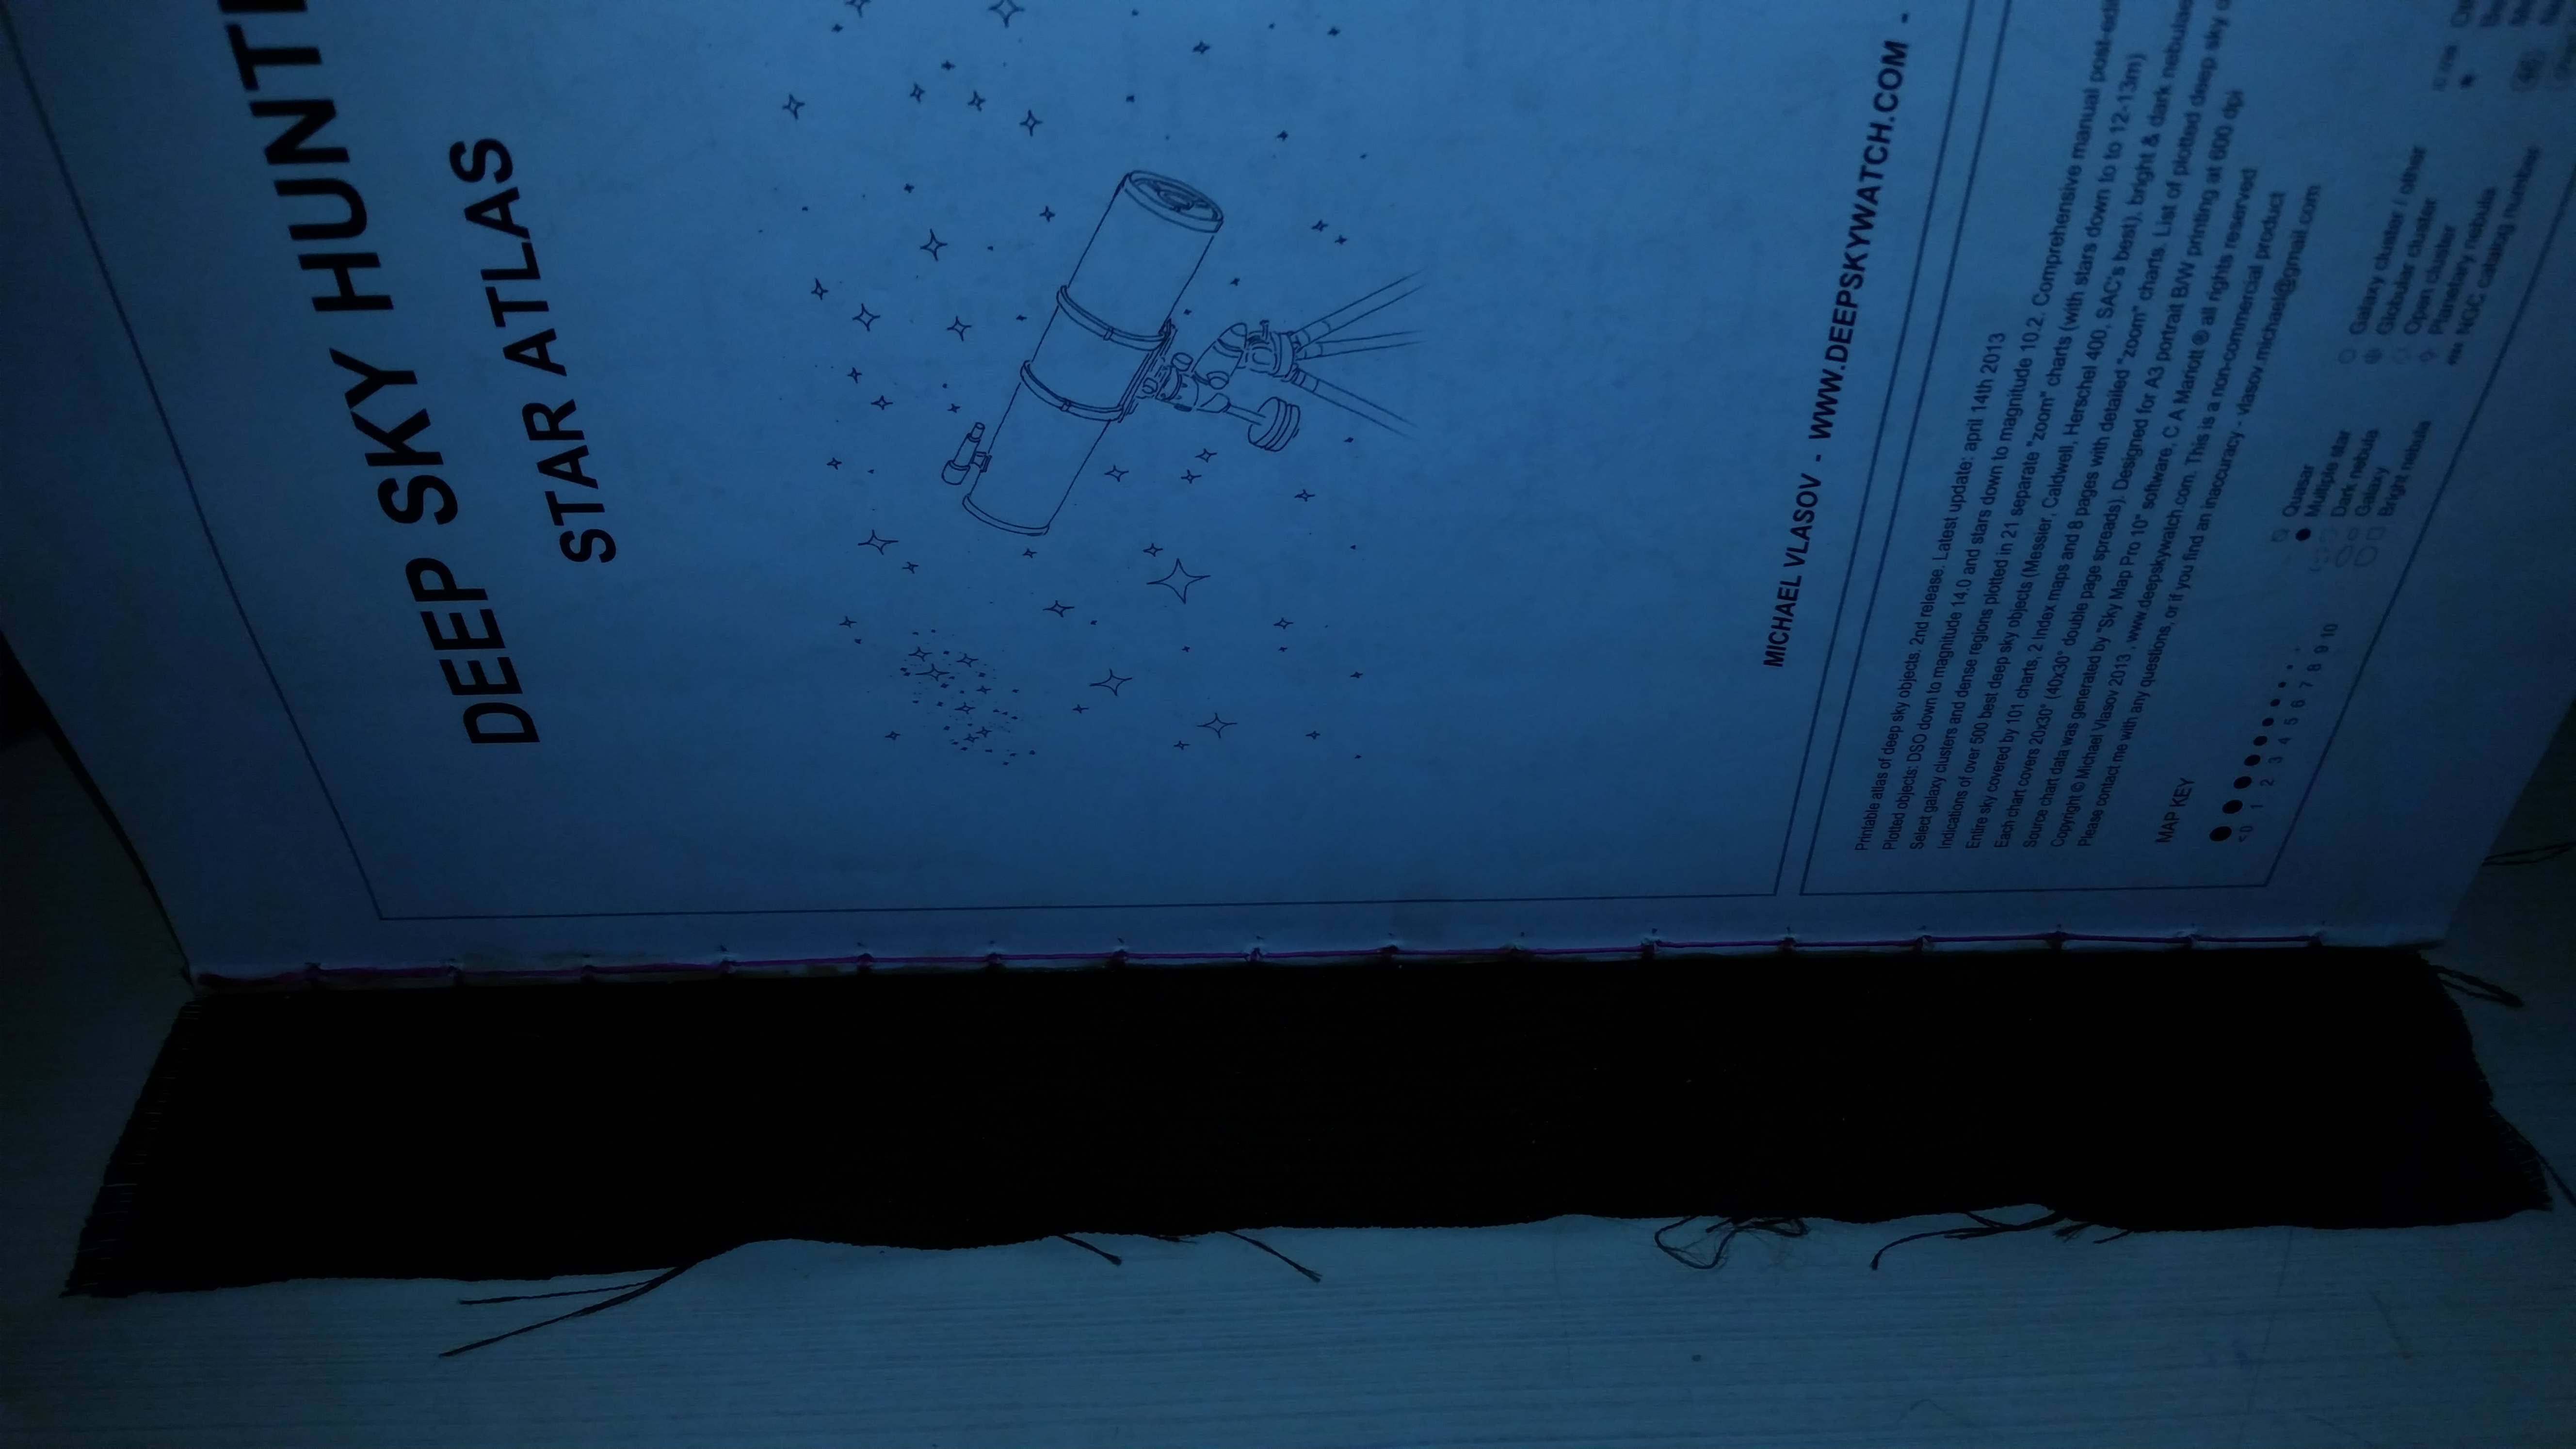
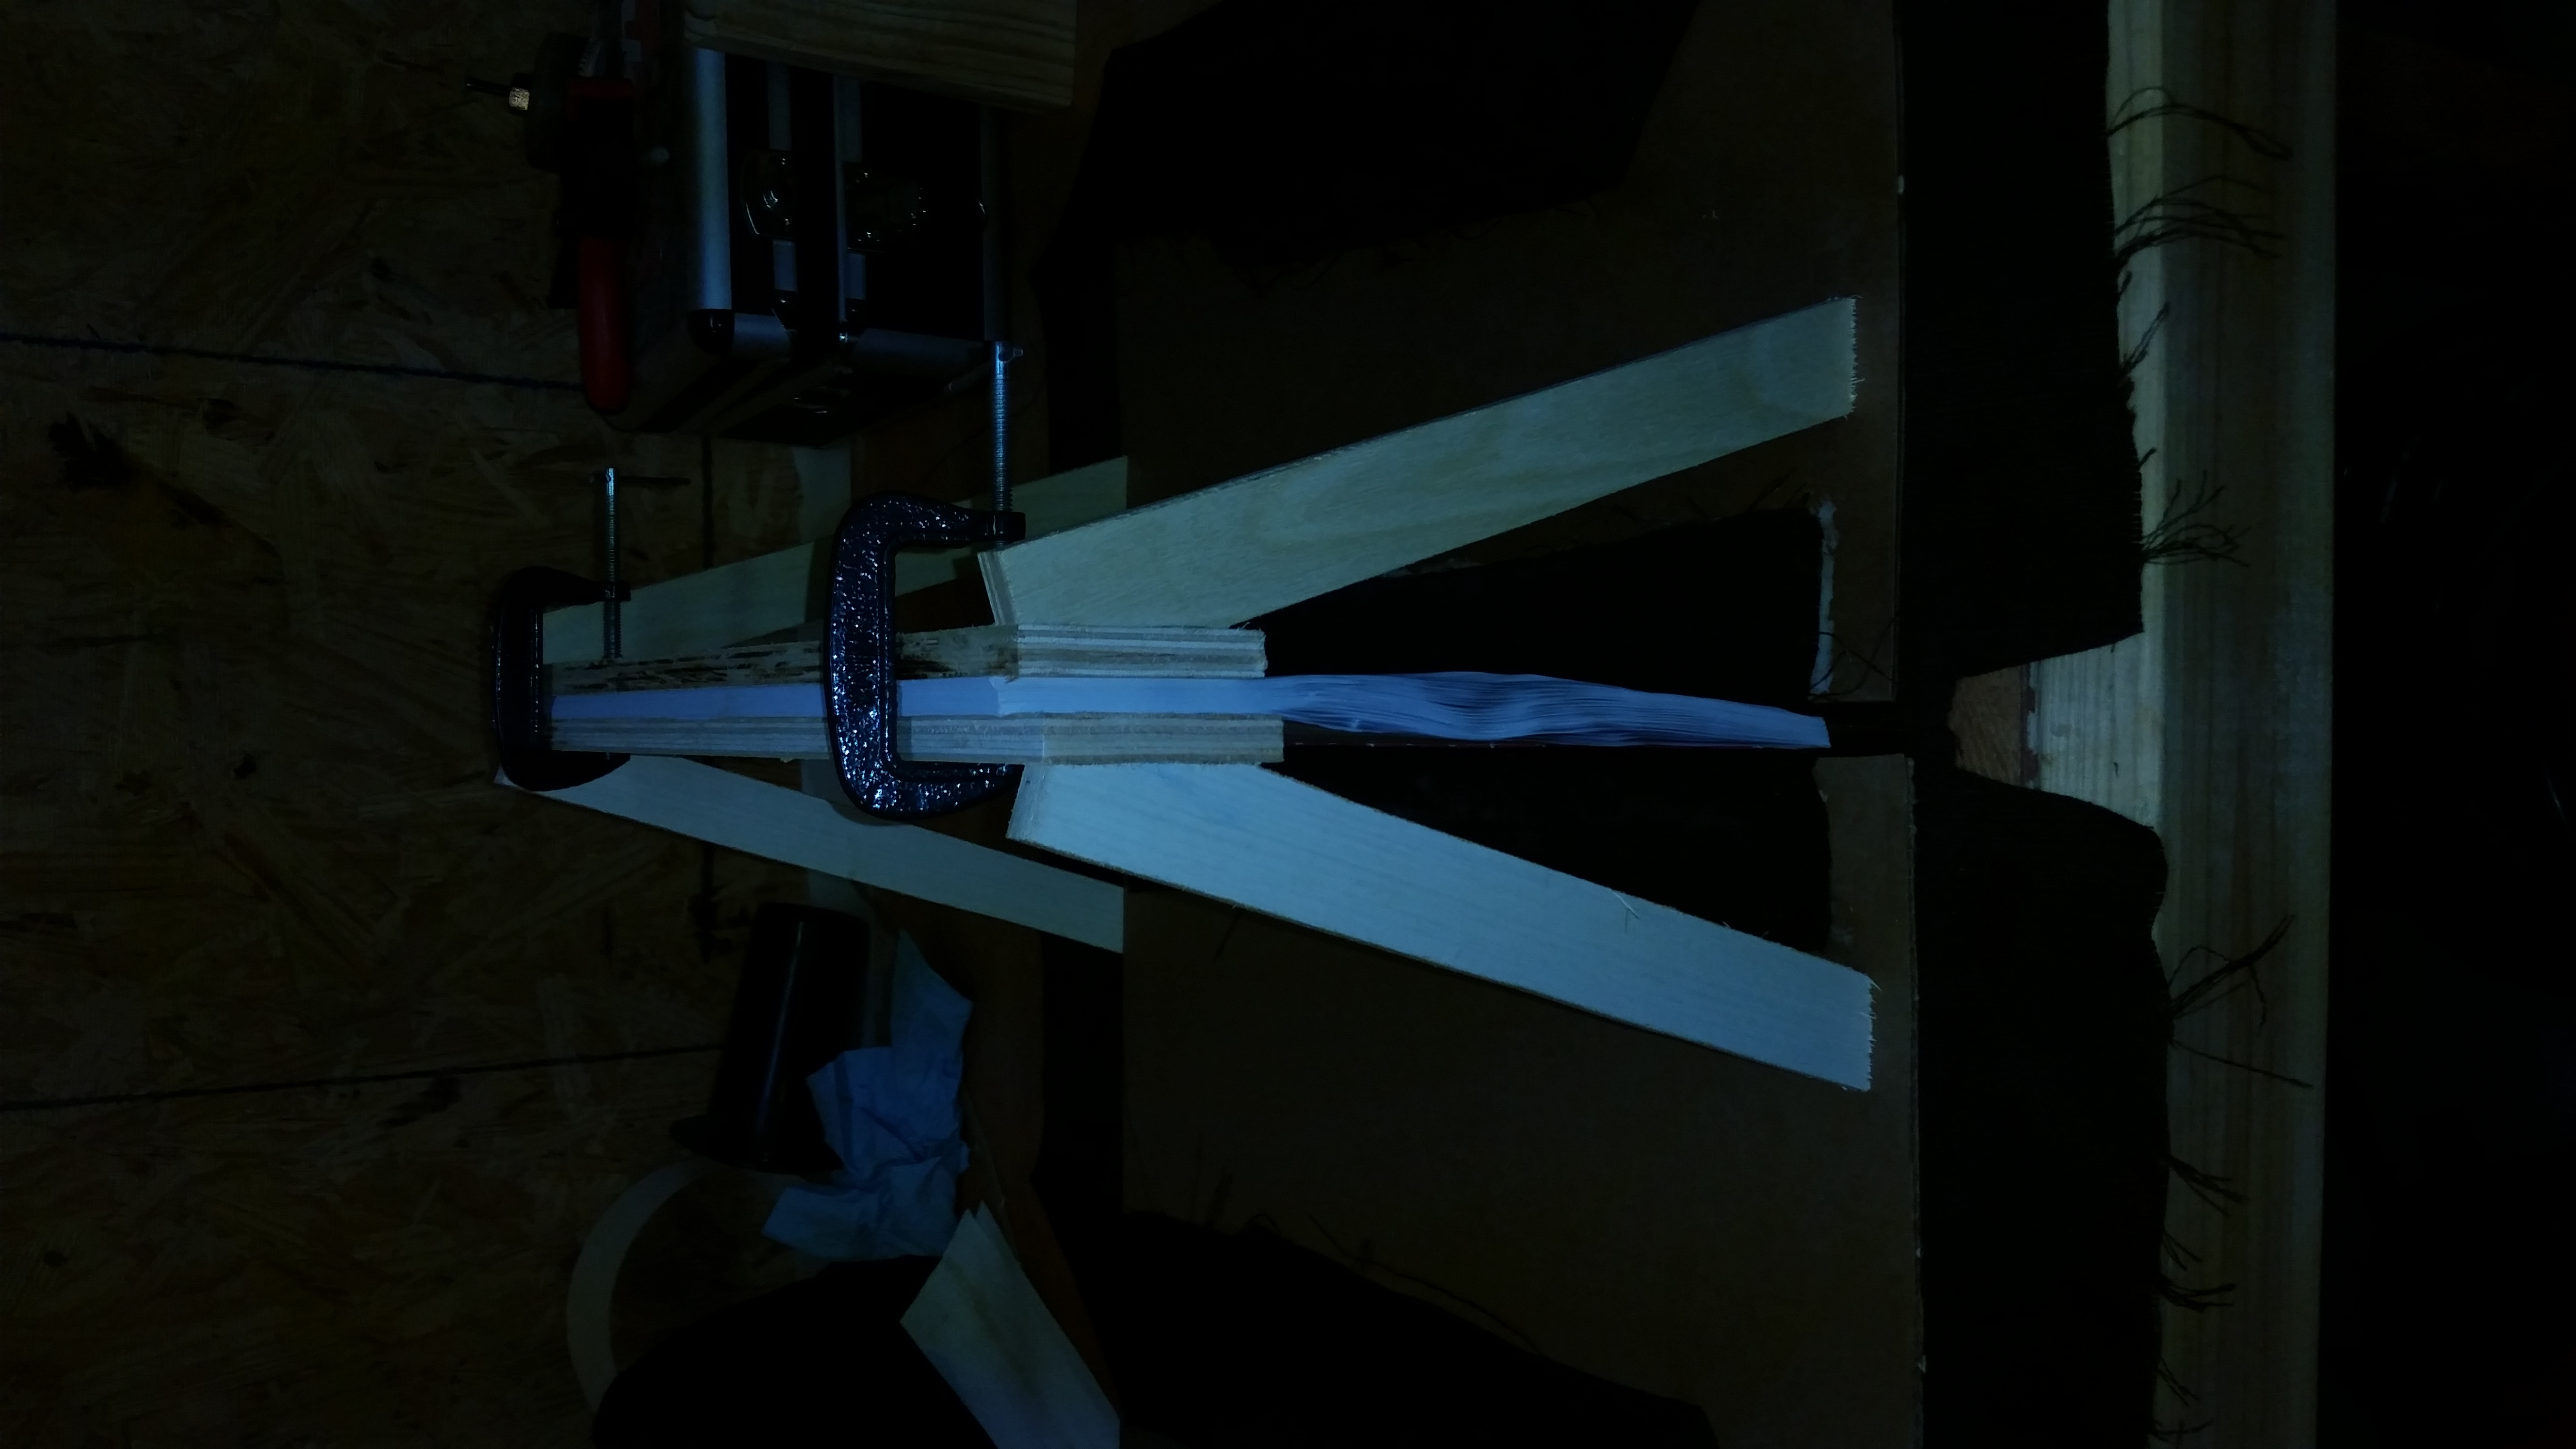
- Drilled holes in the spine, then outside loop stiched the string to add more structure and stability to the spine. (you can see it near the spine in one of the photos)
- Reglued the spine, and this time added a 6″x11″ strip of fabric. Rolled extra glue on top of the fabric strip to ensure a good bond to the spine. I used some non-stick tape backing, along with a 2×12 and significant weighting to “Press” the fabric to the spine, and hopefully force some of the glue further into the spine for a better bond. (let it sit overnight to dry.)
- flipped the cover inside out and applied glue to what will be the outside. once glued, I stretched the fabric tightly and folded the cover back right side in? out? whatever that would be. either way, I then weighted each side so the fabric would remain tight and bond well to the cardboard. This gives a solid fabric cover that won’t move loosely. The top and bottom “folds” have still not been glued, that will be the last step.
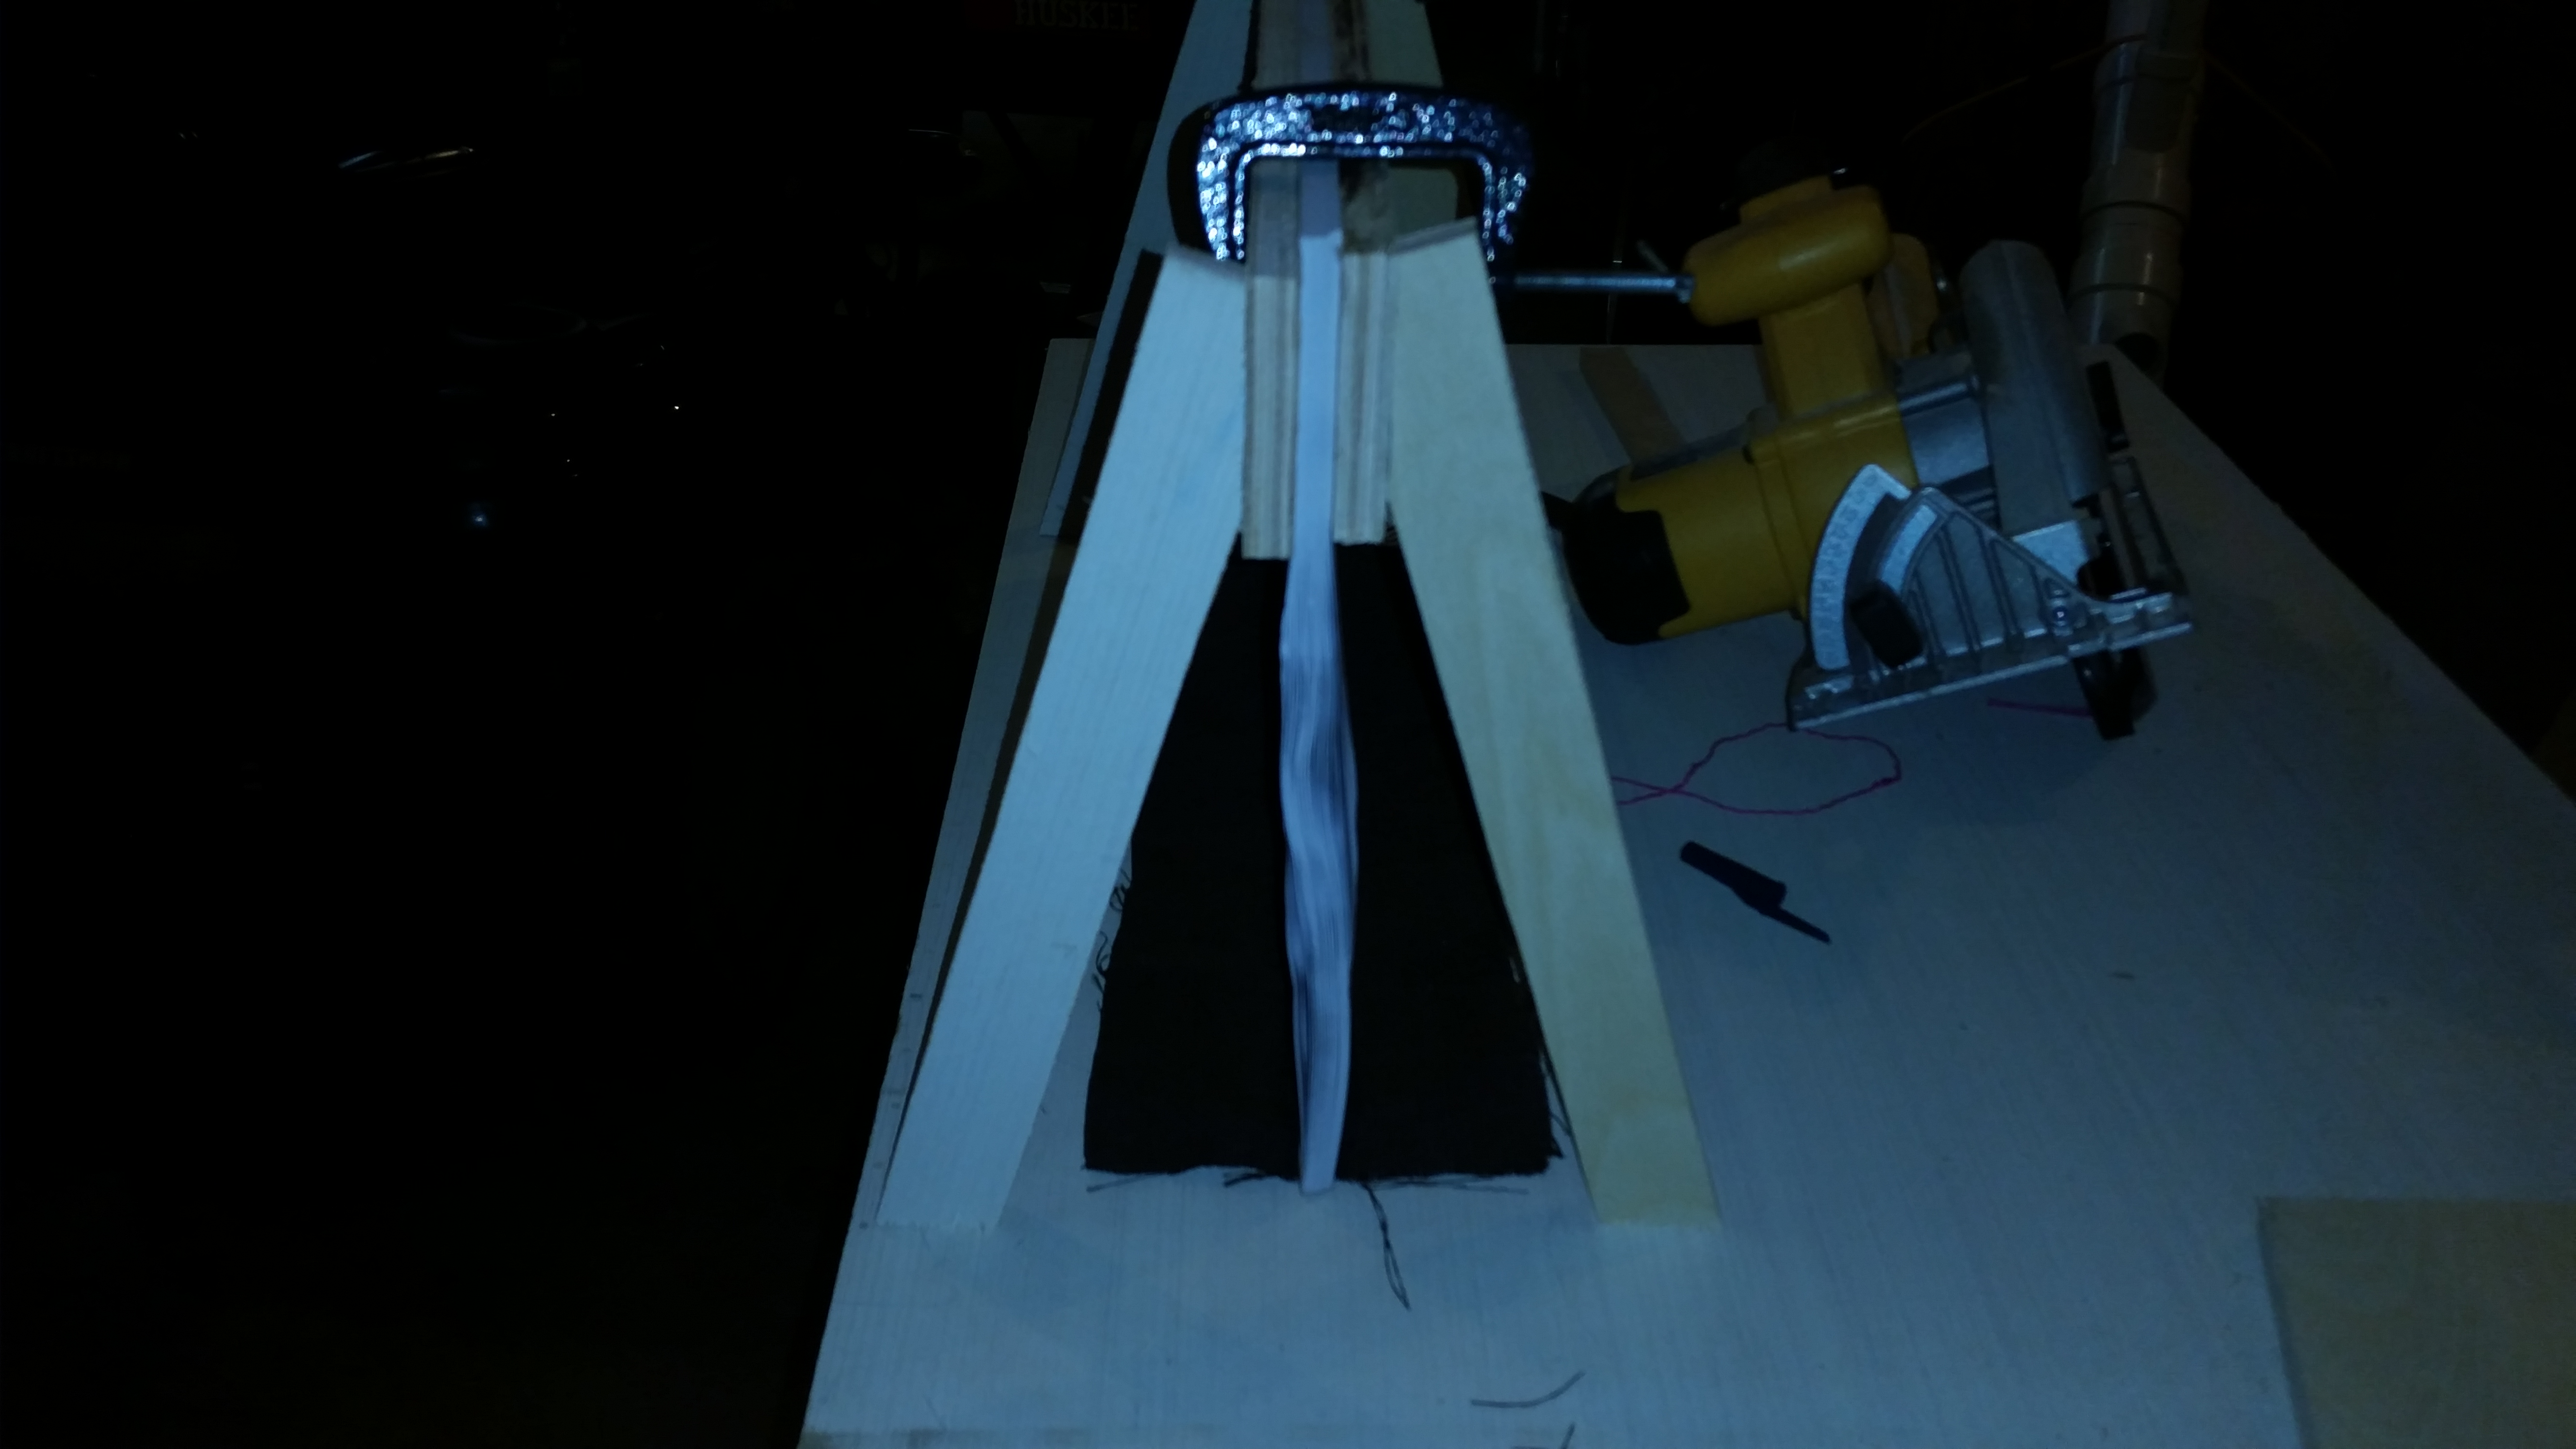
- with the cover completely glued and drying it was time to add the “book” to the cover. I glued the spine fabric to the inside of the cover. I applied copious glue, and weighted it proper. I also had to build a jig for this as the pages needed to stand upright while the glue dried. you can see that in the pictures.
- finally I restretched everything and reweighted and it’s in the shop drying as we speak. the last step will be to fold the top and bottom edges of the cover fabric into the since of the cover. I will do that before bed tonight when I’m convinced that the spine gluing held.
Pictures: