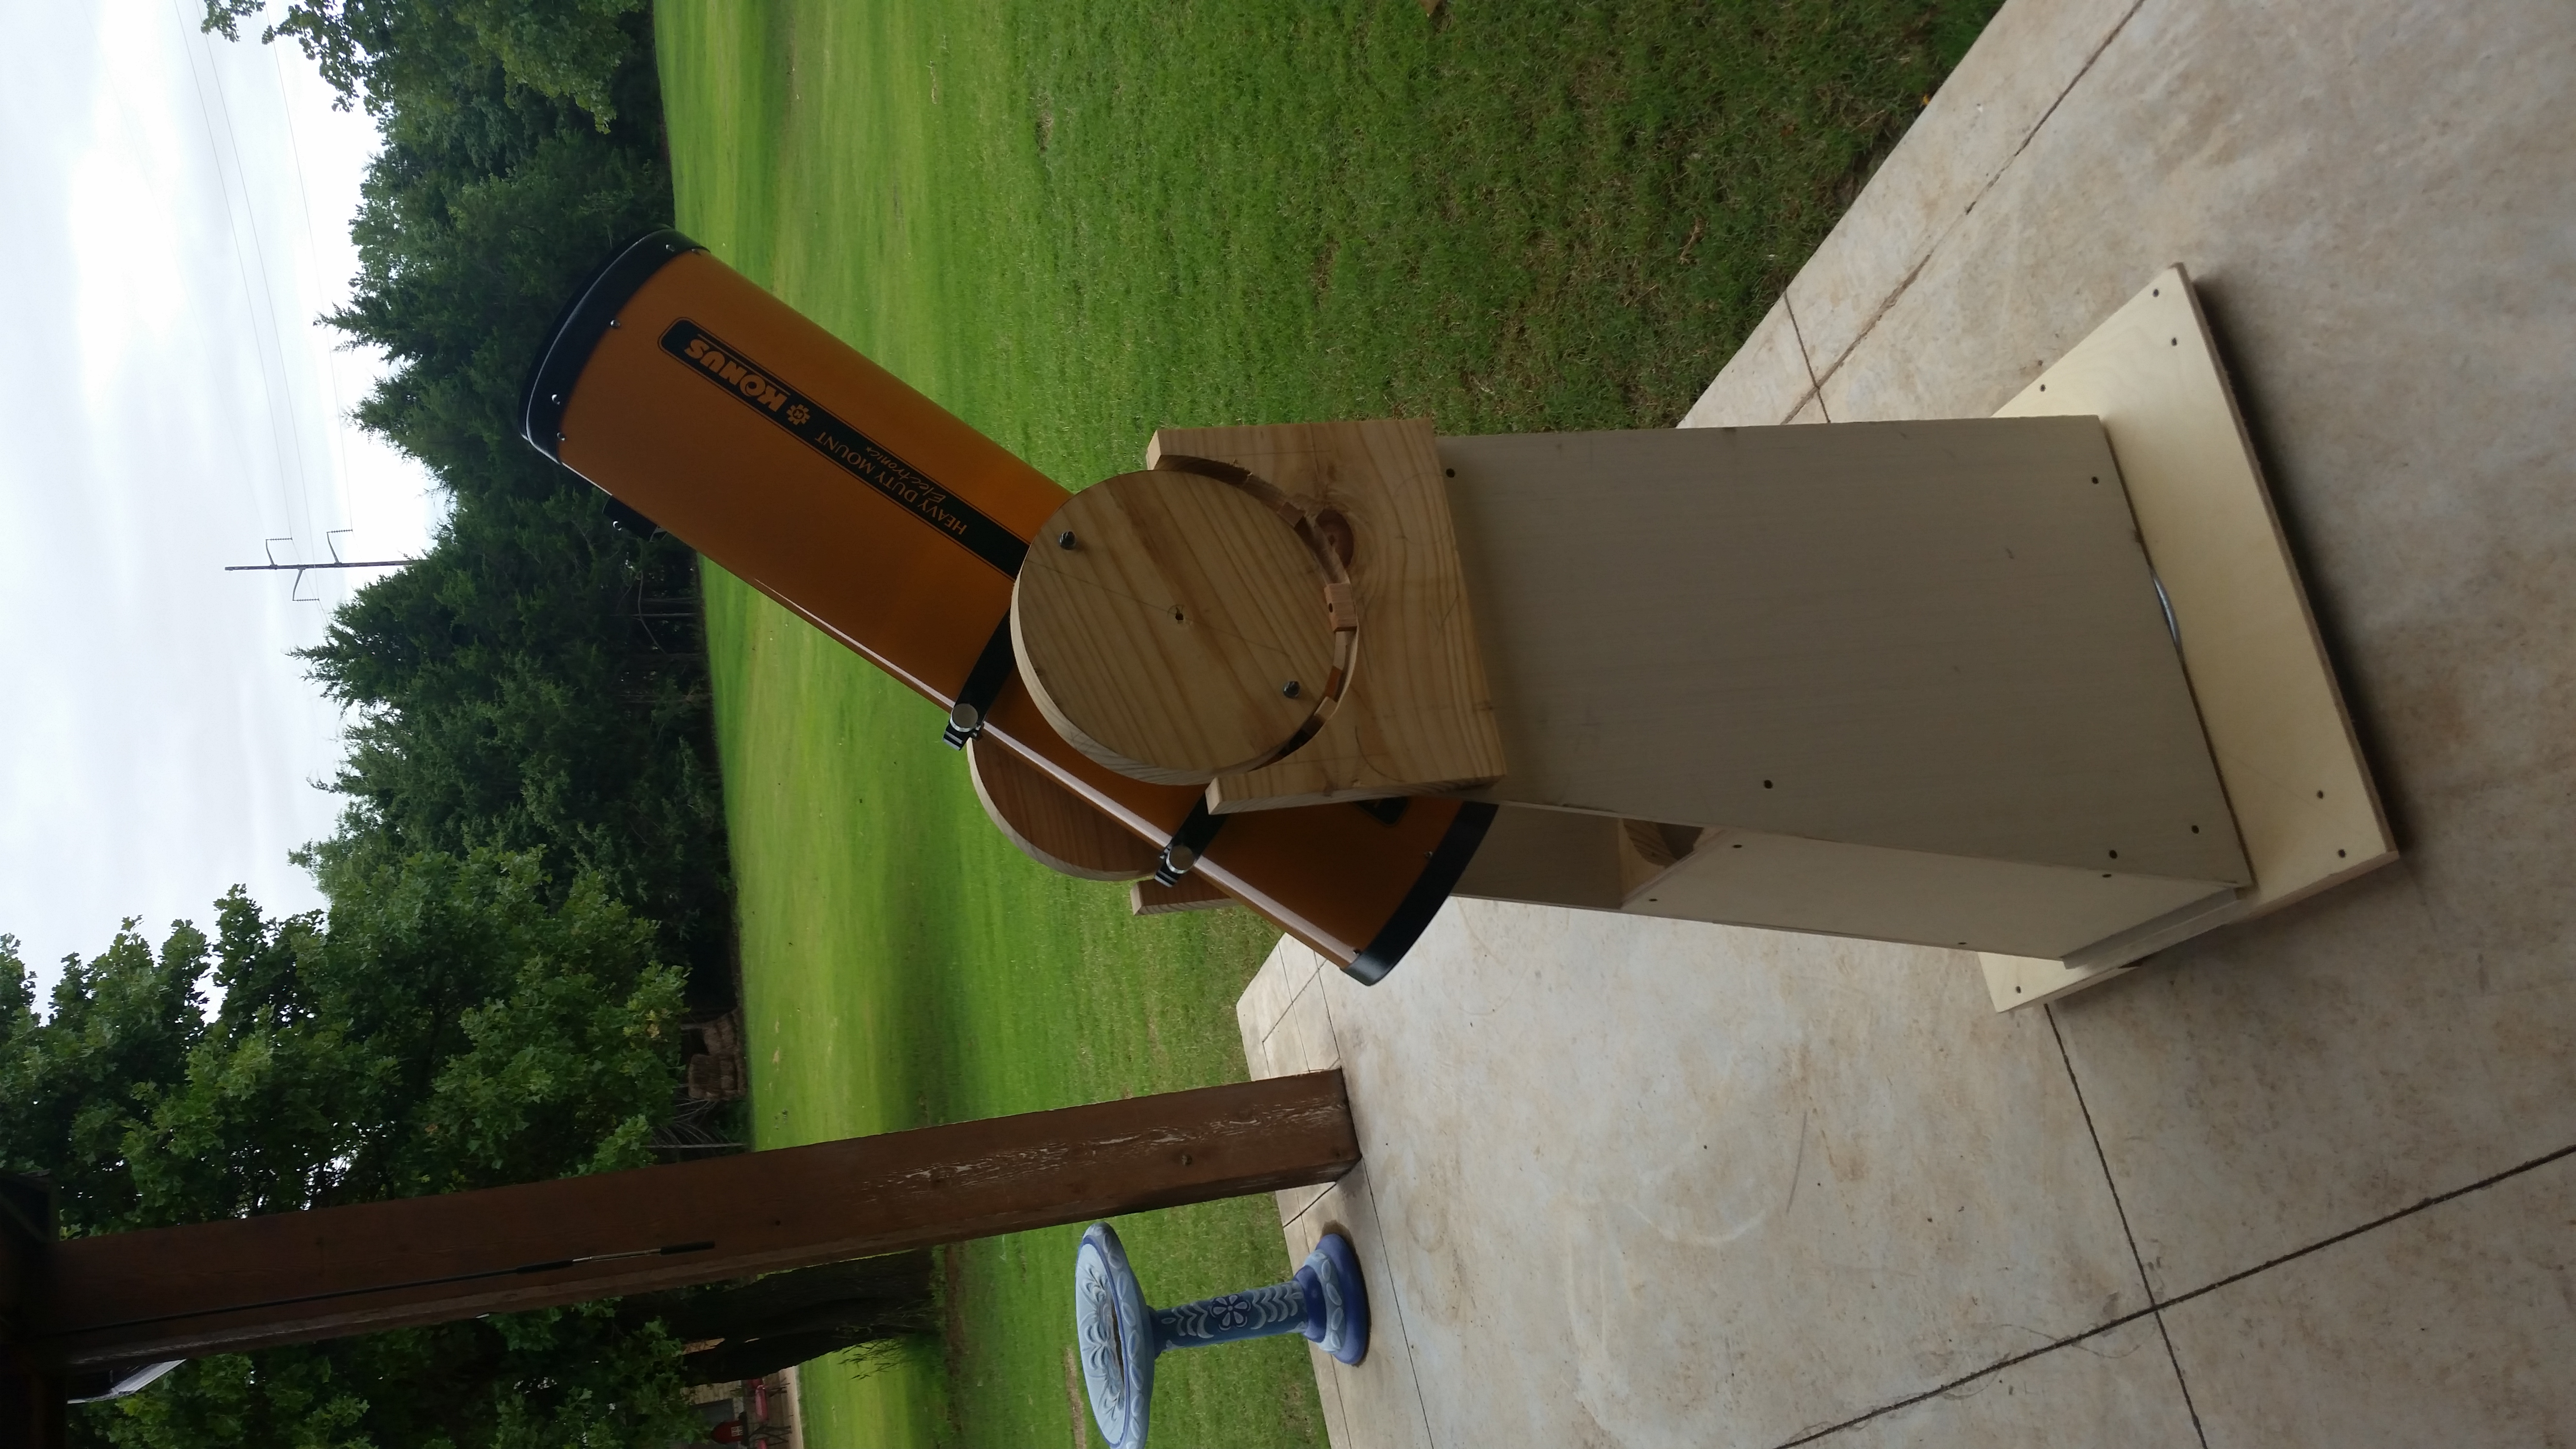
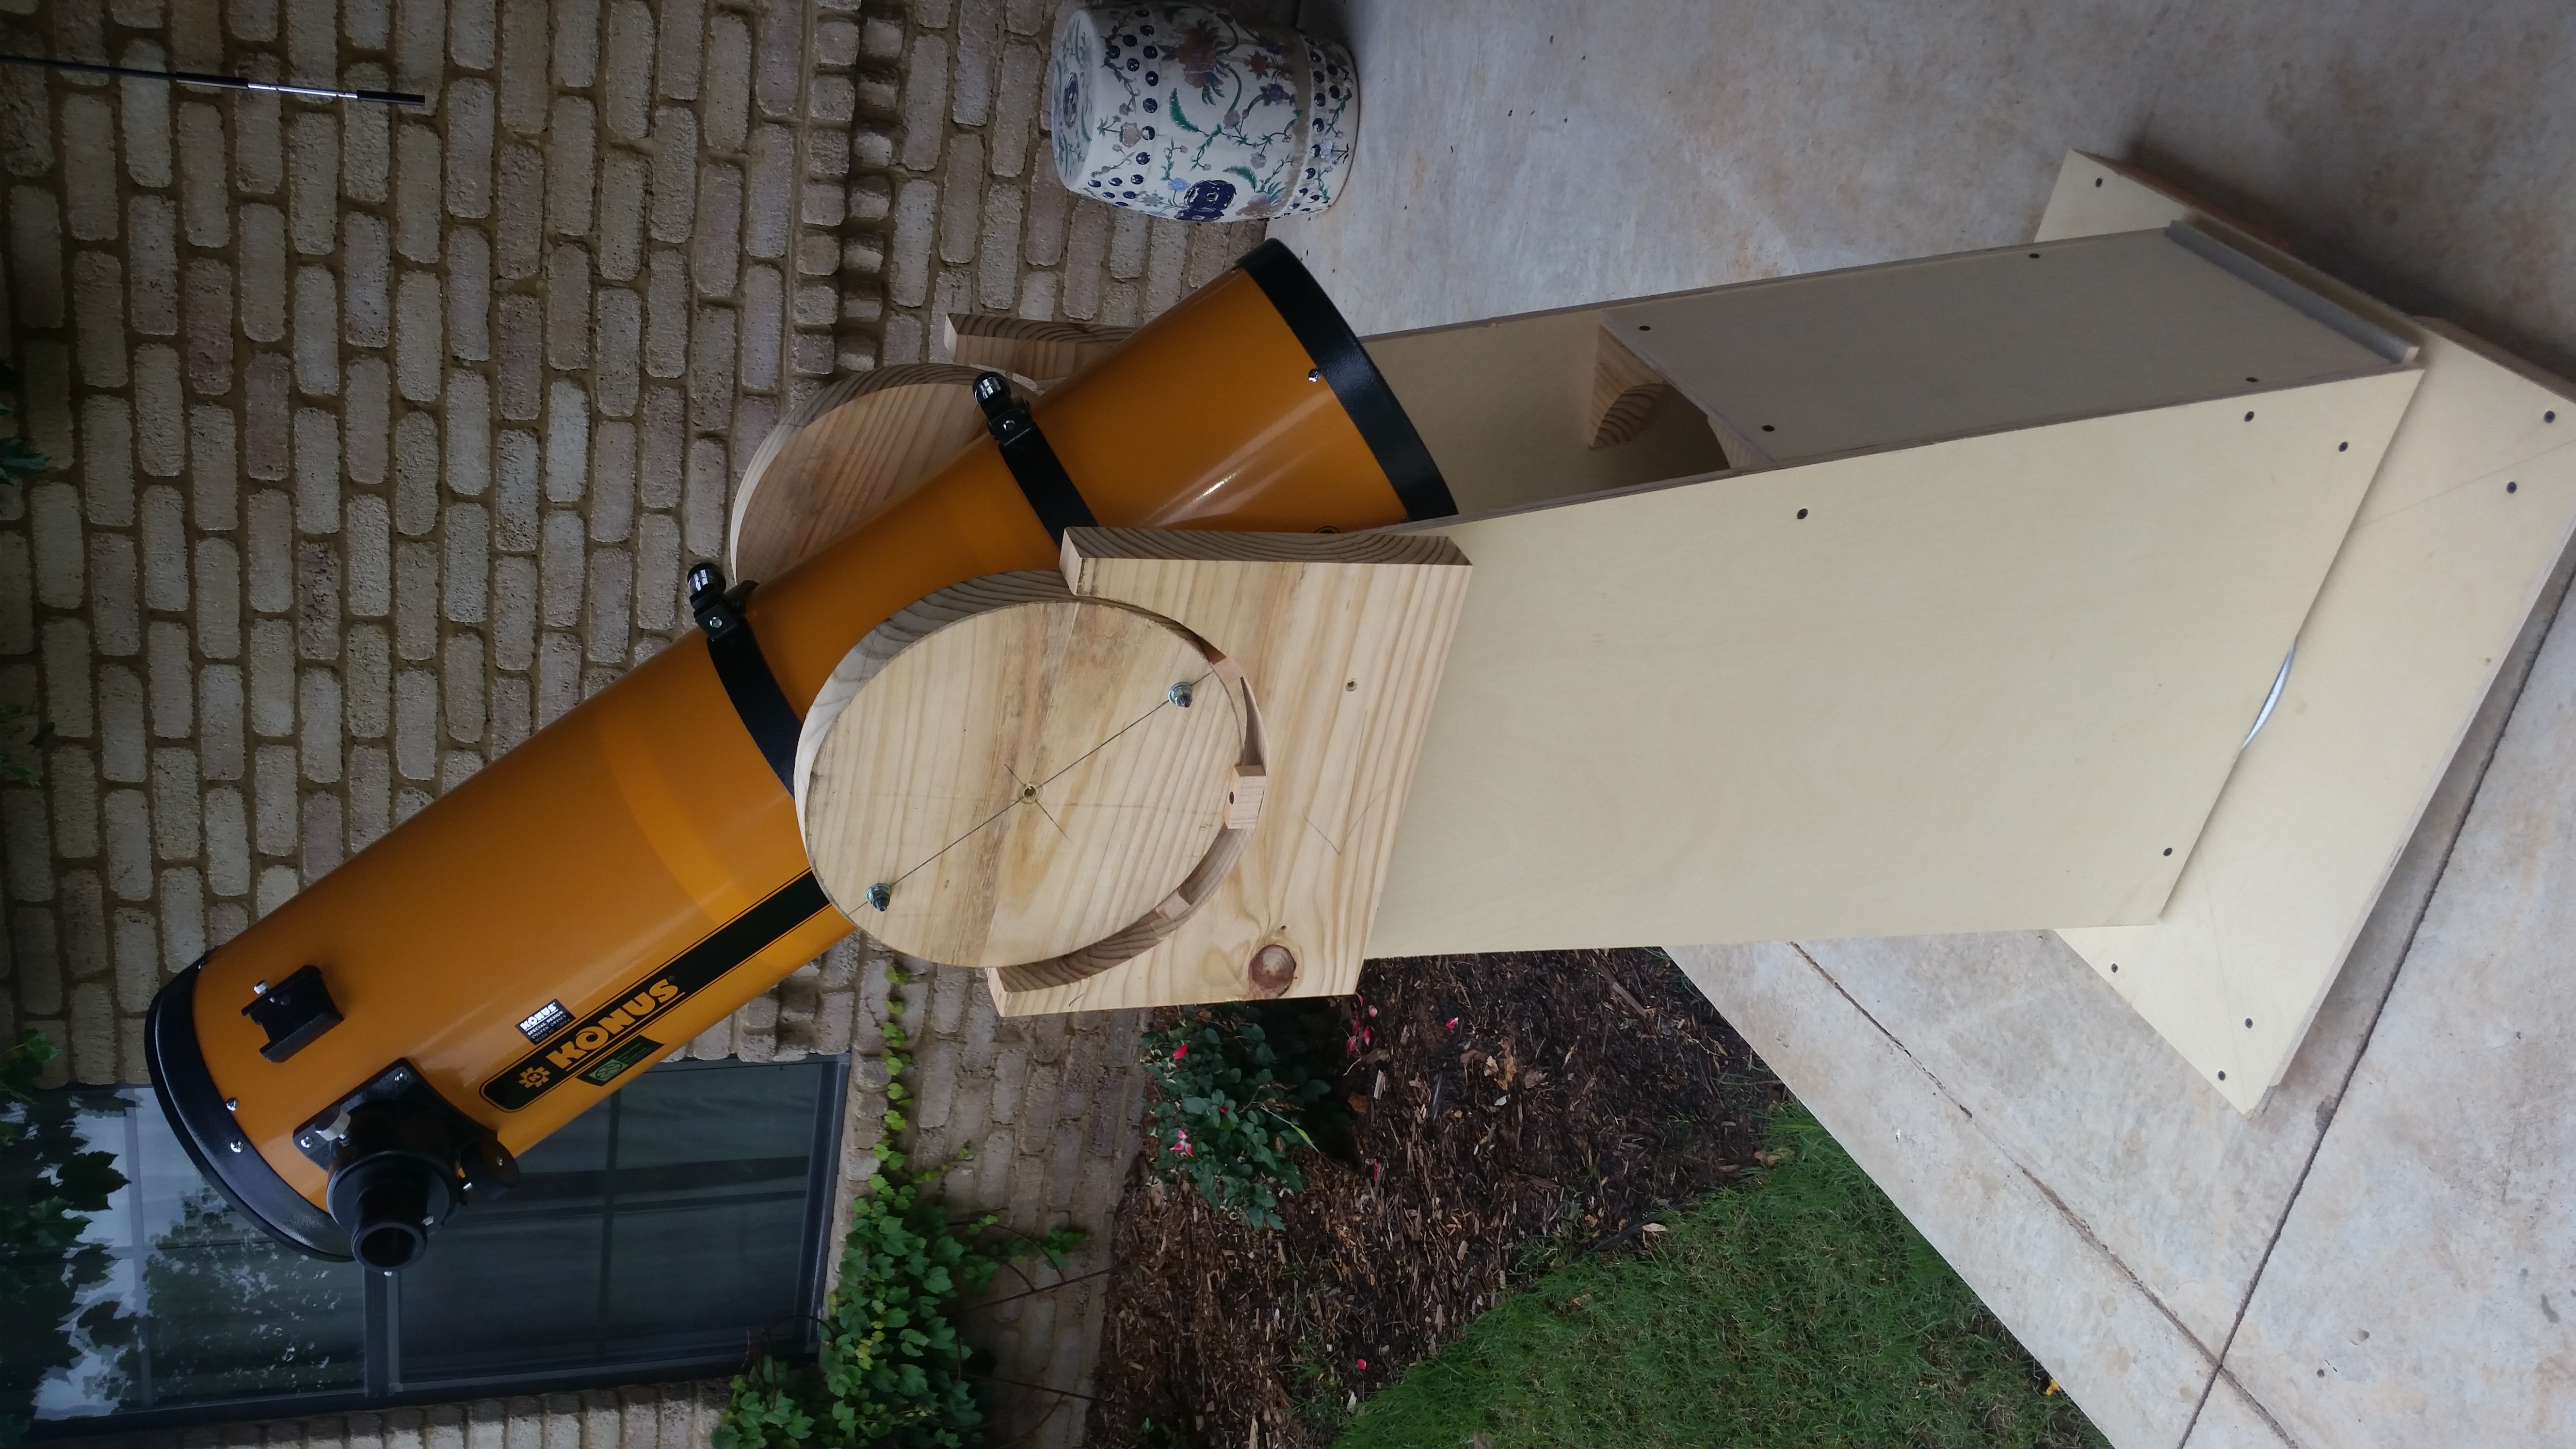
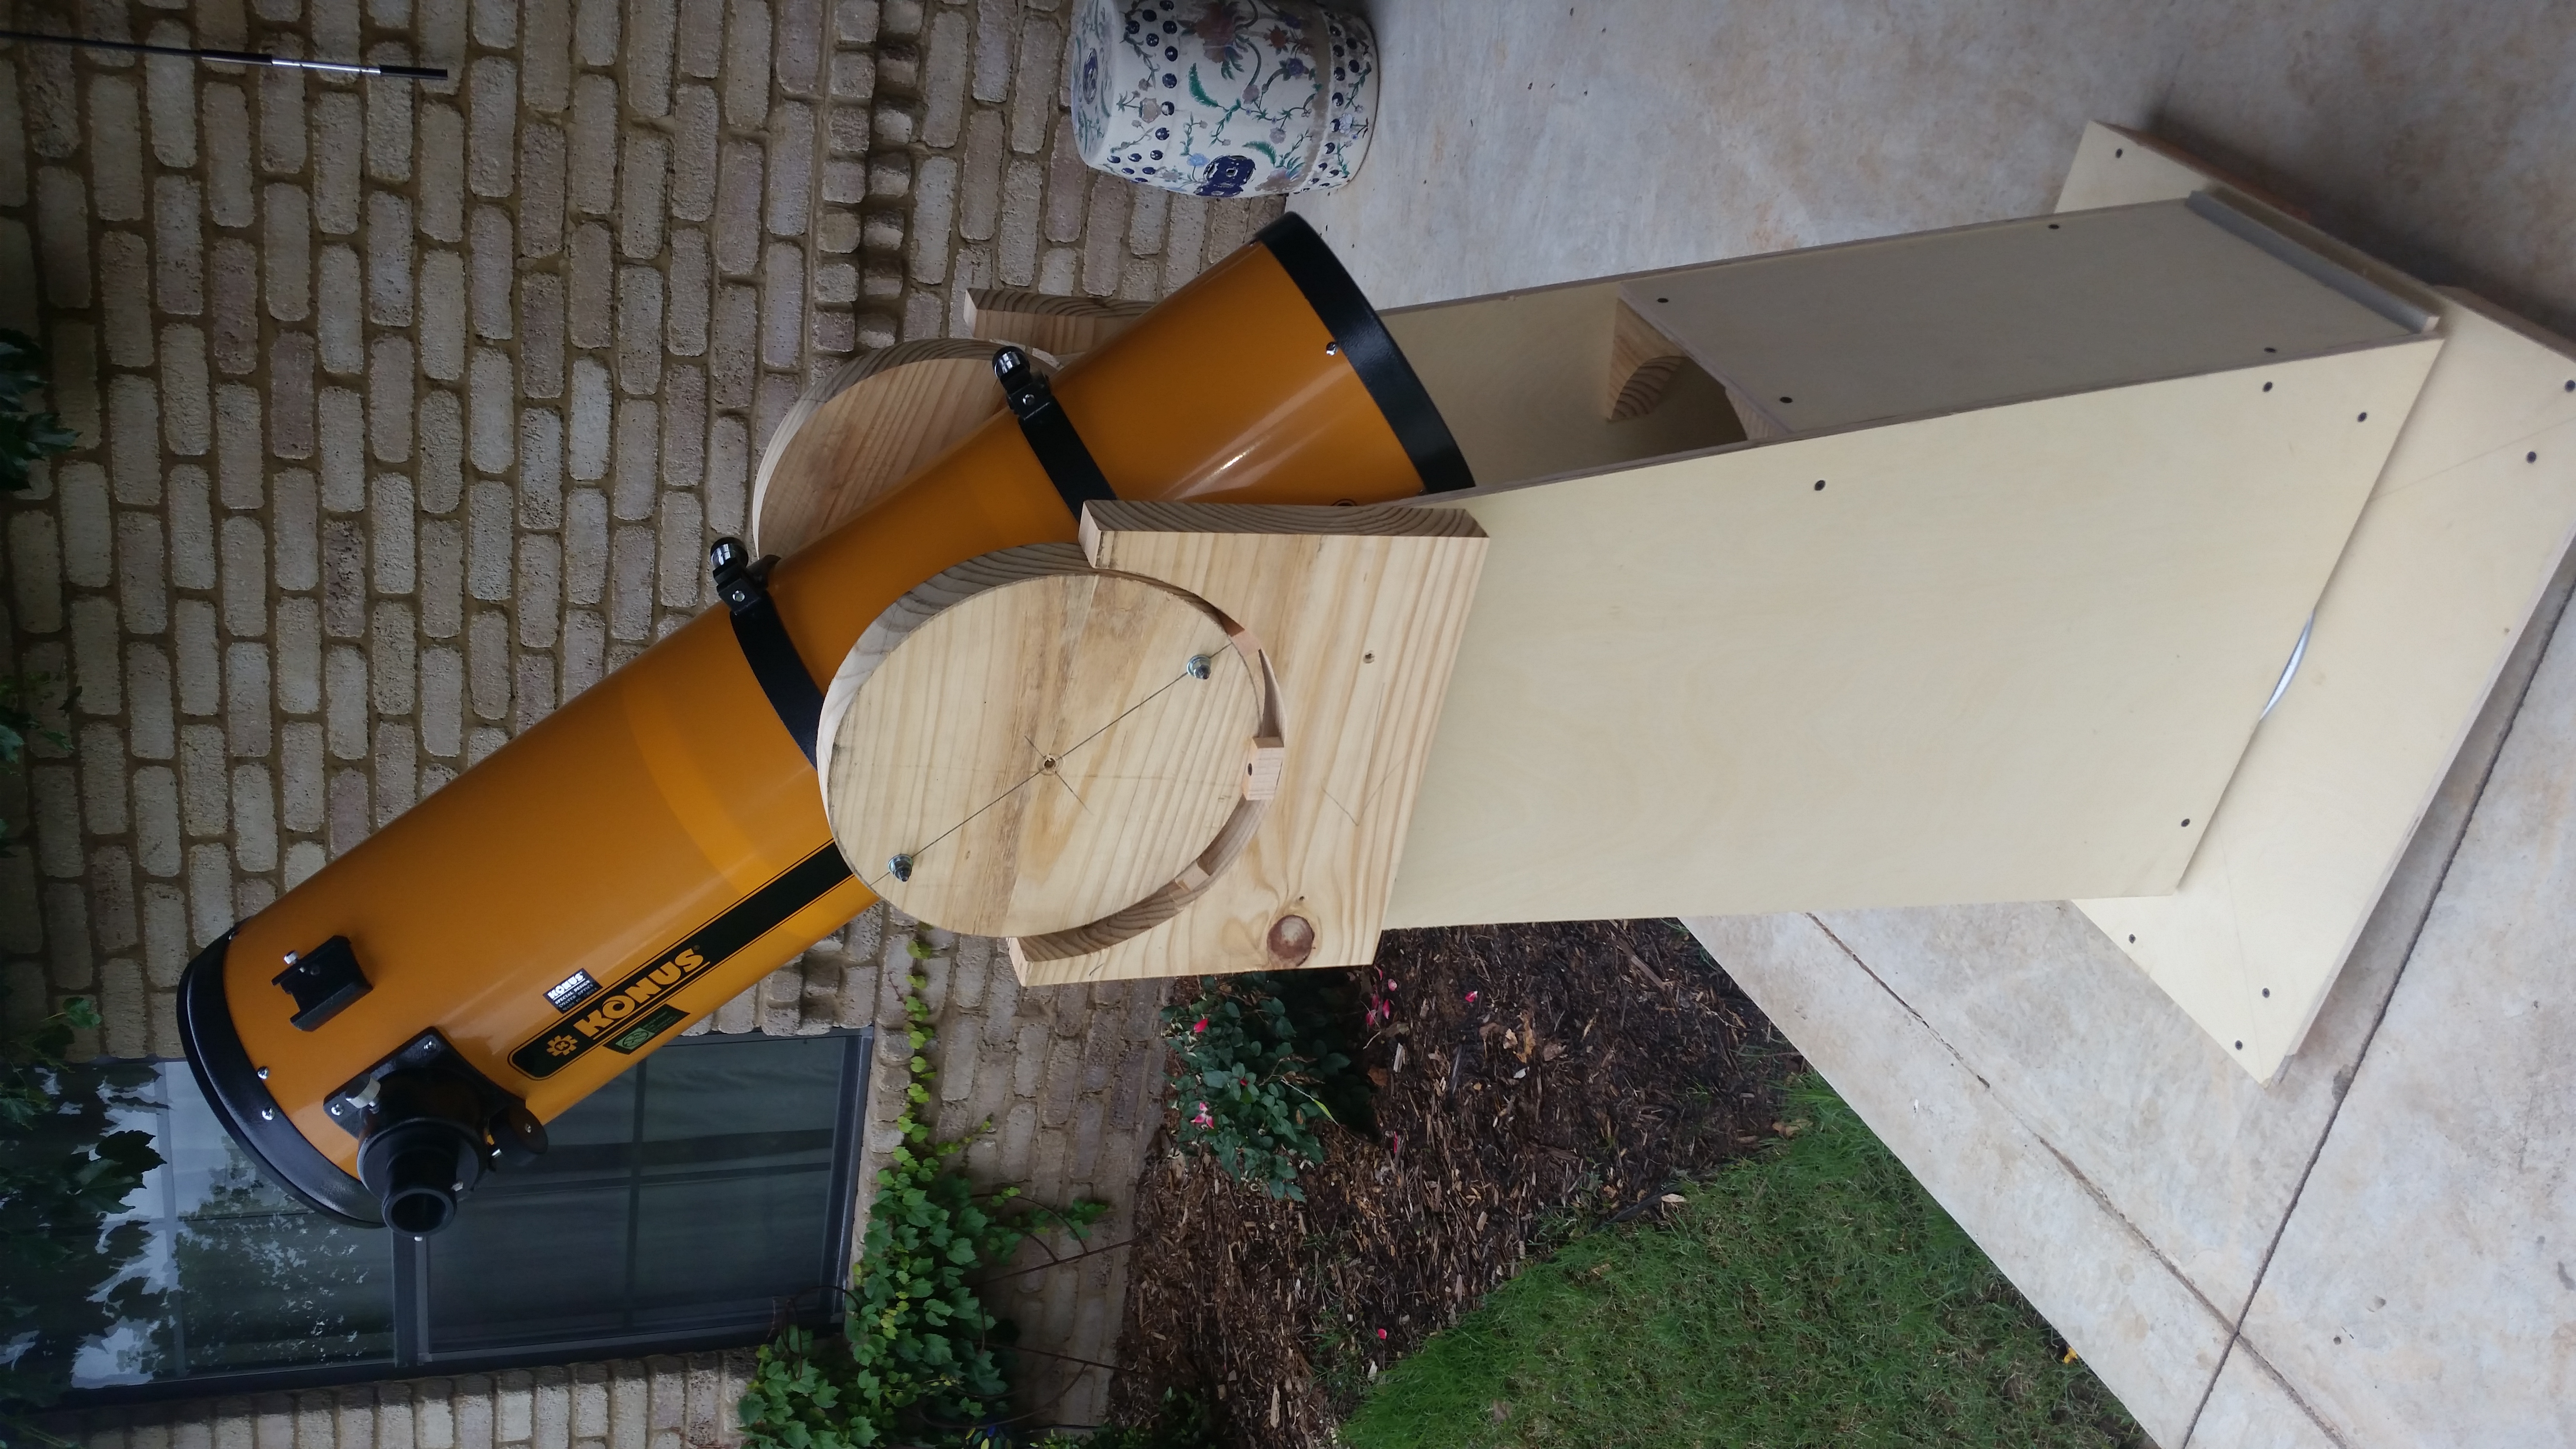
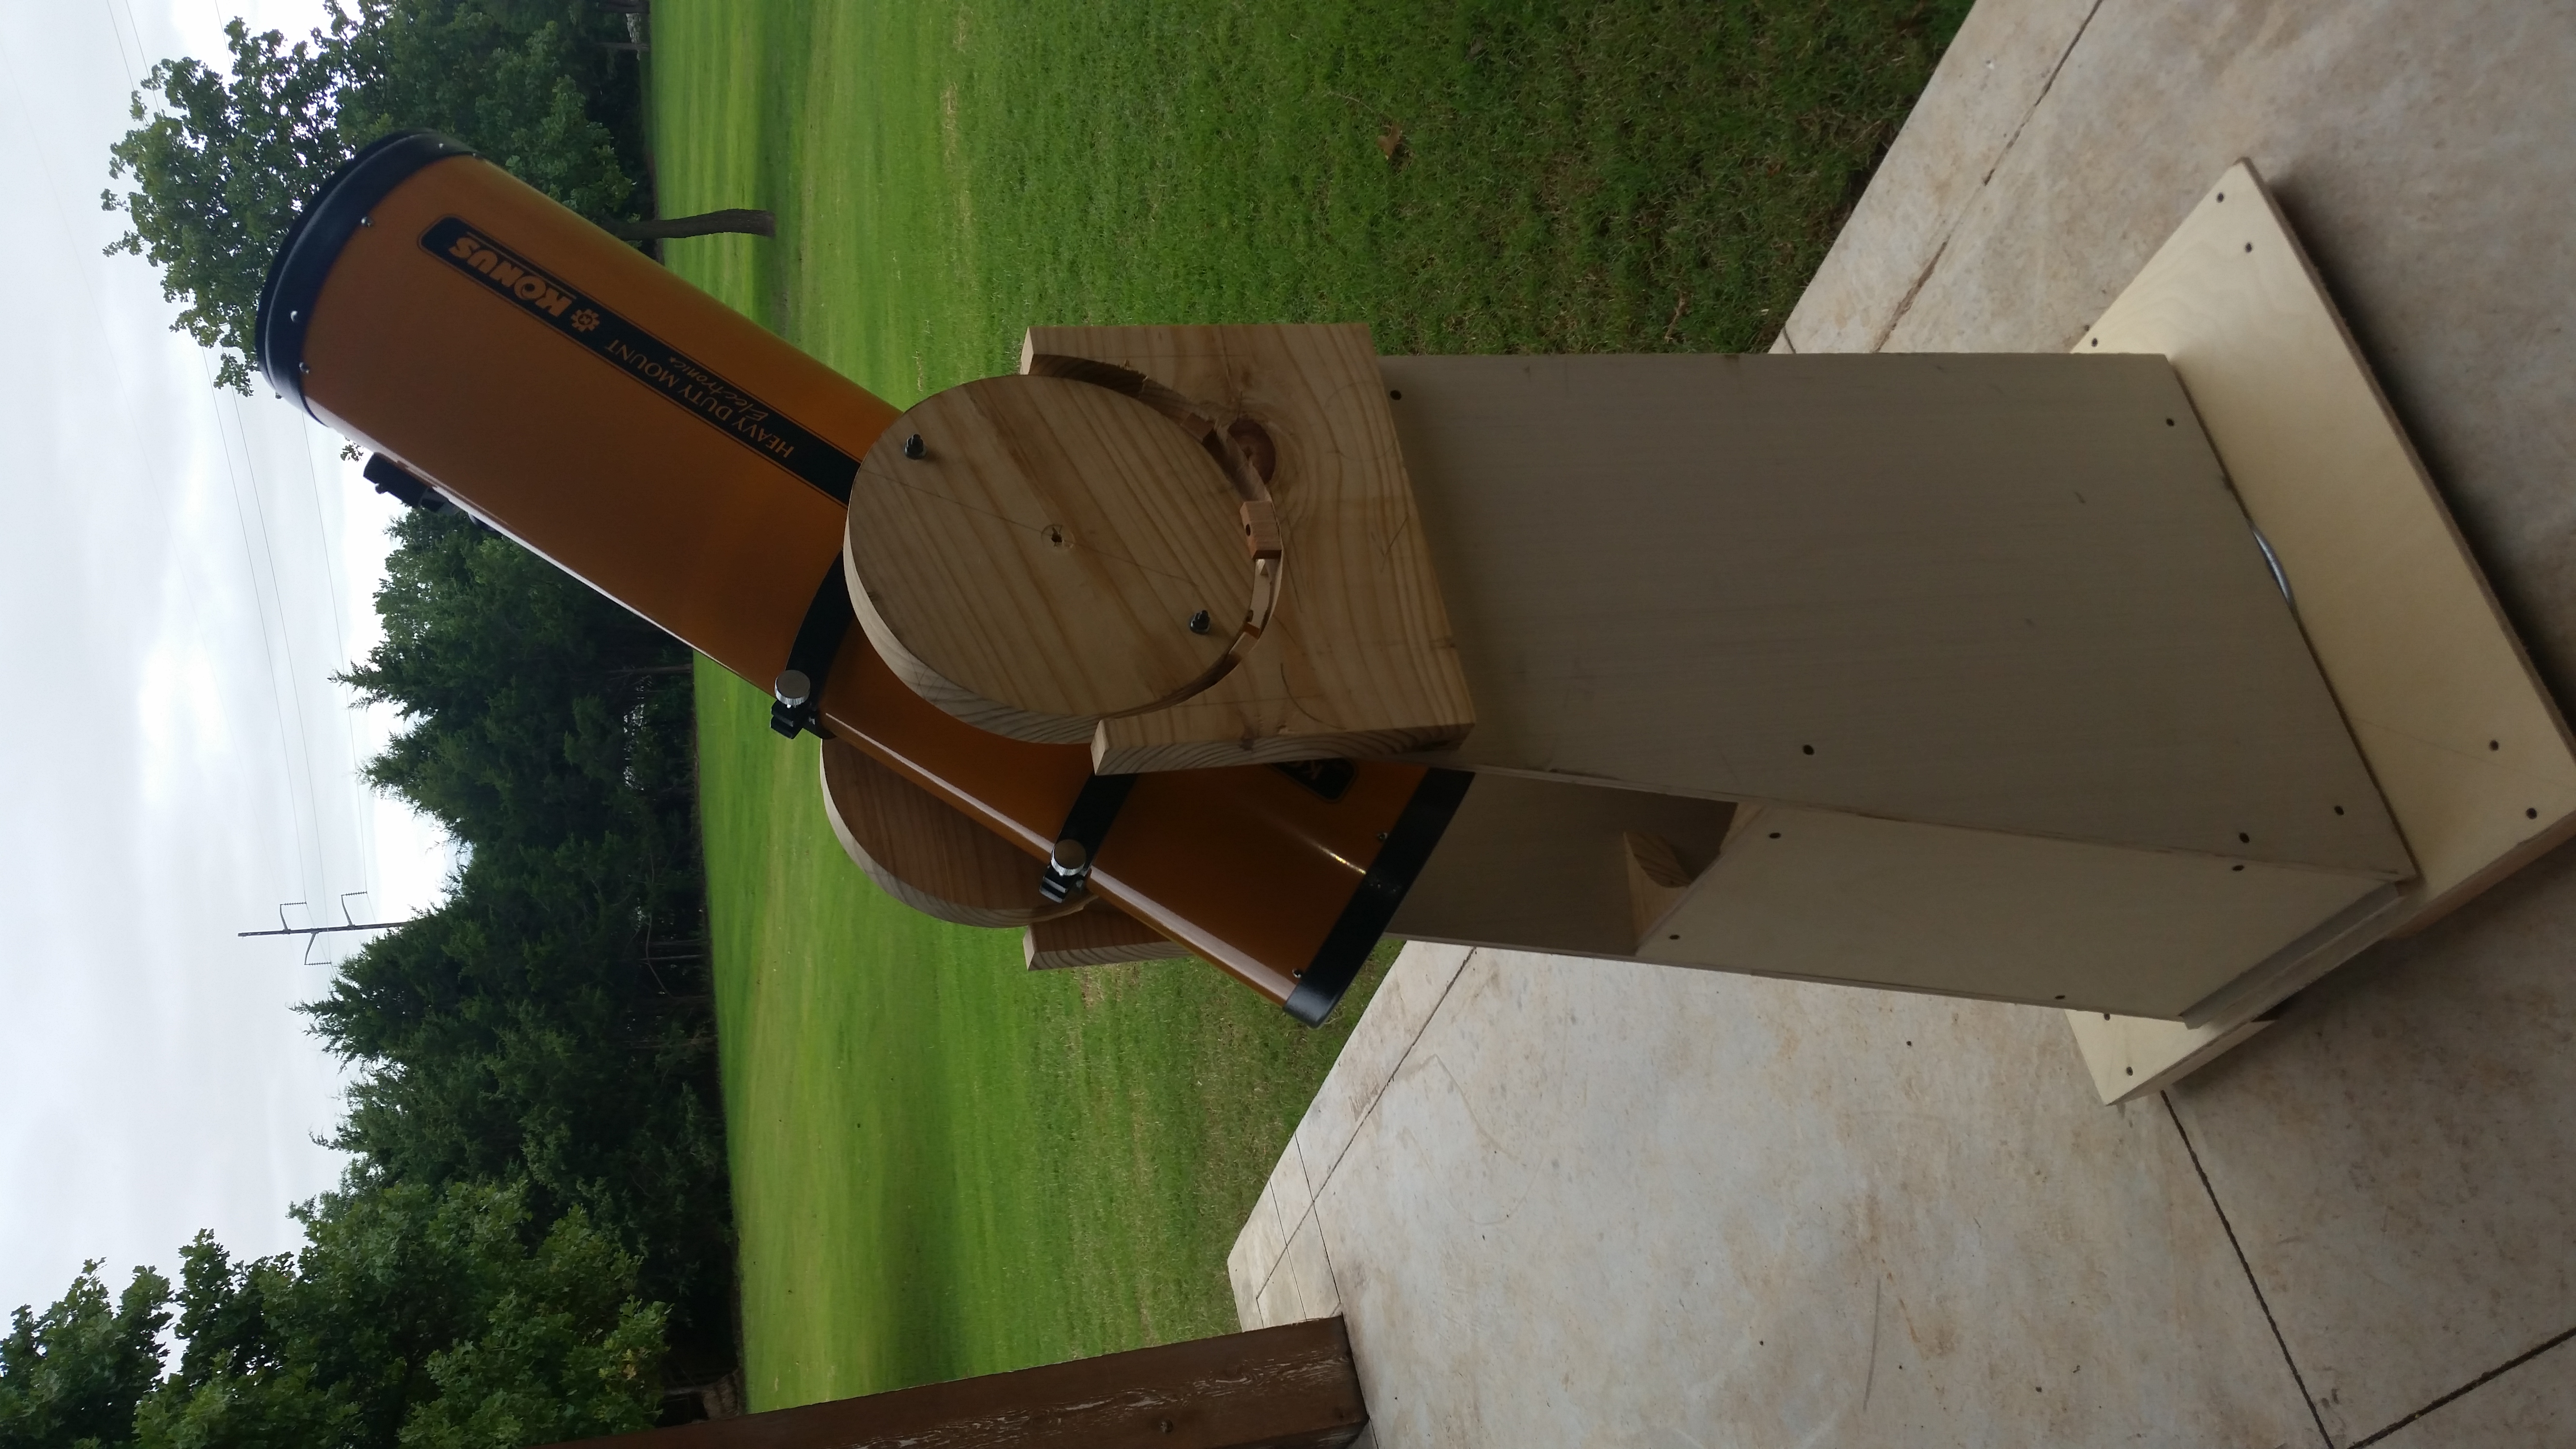
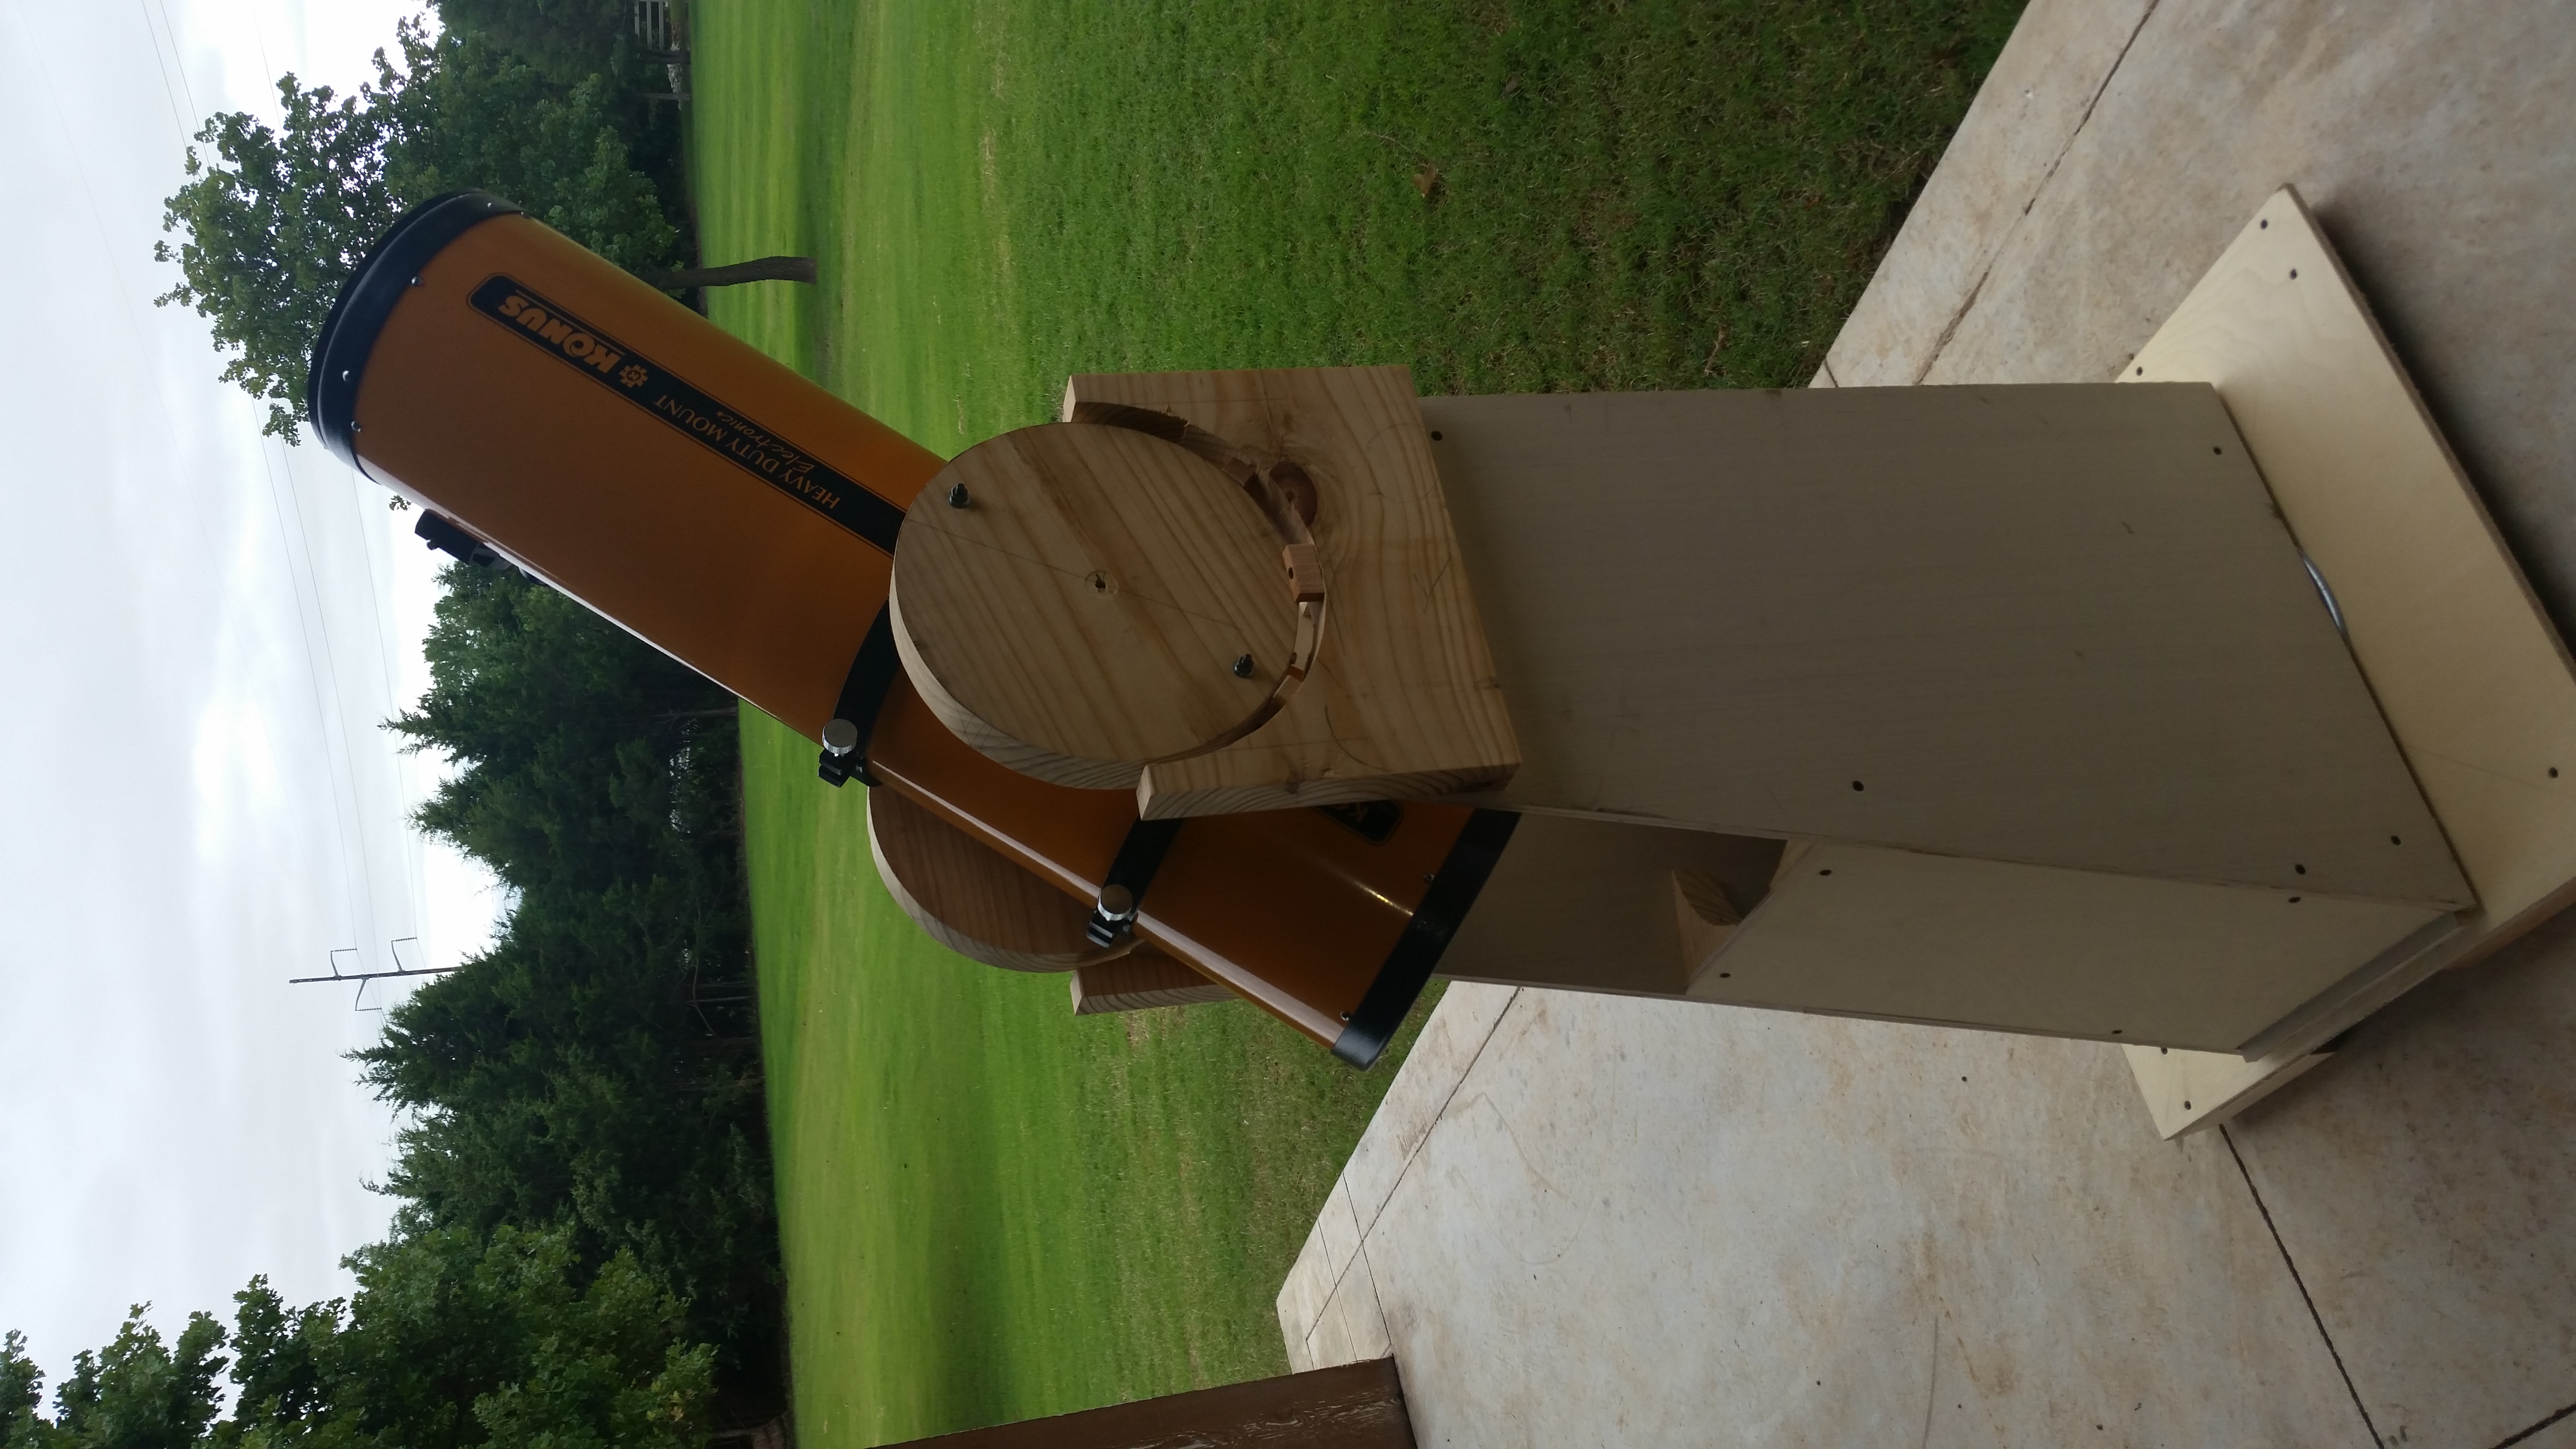
So seeing that I solved my Konus issue by buying a new OTA that will be installed on the motorized EQ5 mount, I decided that the Konus scope needed a mount. I mean, even though it’s pretty crappy with the spherical mirror, it’s still an 8” f/5 reflector, it will still show the planets, moon, and stars. They’re just a tad out of focus or surrounded by blurry annoying halos. I thought about several fun options, but the only one that really made sense was a dobsonian mount.
I’ve attached links to a few pictures of the finished product. I always think I’ll document the process but truth be told I get such a kick out of building things that I rarely remember to stop and take pictures. I suppose I could take it back apart and fake it, but I don’t wanna. 🙂
http://www.duffstone.com/webphotos/konusdob01.jpg
http://www.duffstone.com/webphotos/konusdob02.jpg
http://www.duffstone.com/webphotos/konusdob03.jpg
http://www.duffstone.com/webphotos/konusdob04.jpg
http://www.duffstone.com/webphotos/konusdob05.jpg
So basically it’s designed so that the focuser will be at eye level when pointed at the zenith. I did this because I didn’t want to EVER have to stand on tip-toes or get a stepstool to use my scope. It makes for some awkward bending when you get closer to the horizon, but the tube can be rotated so that you’re looking down into the EP which helps.
I cut the altitude bearings out of generic 2×12 planks, by hand, with a band saw. I then sanded them smooth with a clamped (upside)down belt sander. I bolted them together during the sanding so that they would be uniform in shape and size. The Cradle was cut from the same 2×12” plank, again with the band saw to get the curve, but as you can tell I was only going for a general “U” shape. I had actually considered half-octagons instead… but the curve turned out to be easier. Into those cradles I placed 3 smaller blocks caped with Teflon tape. The bottom block prevents the bearings from sliding from side to side, while the other two act as the outer race of the bearing.
The upright box is simply made of ½” oak plywood. I cut the altitude bearings out of a square, which yielded 8, 90 degree quarter circles (the outside corners). I used those to join all the 1/2” sides together and help eliminate twisting when under rotational torque. It’s quite stout, much more so than I figured it would be.
The base is a simple 24” square with scrap 2×4’s for feet. I purchased a 12” lazy Susan ball bearing to attach the base to the box, and outside off being a bit noisy it works well. Basically you hear the balls moving when you rotate the box. Not bad but more noise than Teflon tape. But moves better.
Anyway when all mounted up with the scope all directions seem to work rather well. The movement is very smooth, although the altitude bearings are tighter than the azimuth bearing. The scope has been balanced and holds its position well.
Not bad for a first try. When time allows, I need to tear it back down, do some edge sanding, and paint it. Probably a generic black.
The best part of this build, is that I will now have 3 decent scopes to work with. Very convenient since there are three of us. The caveat being that the Konus probably isn’t a decent scope… But it’s good enough for me to use while my wife and daughter are using the other two. Live is good indeed.
-Tobin